Choose the loaf pan before mixing the dough
A sandwich loaf works best when its slices fit the sandwiches you actually make. A narrow tin gives a taller slice, and a broad one produces a wider piece with a lower crown. Set the tin beside a slice of bread you usually eat. You will get an idea of whether you want a smaller loaf for toast or a wider one for fillings. Use the pan maker's size and preparation guidance. A greased metal pan is a straightforward starting point for this dough.
For a loaf in a standard nine-by-five-inch pan, gather 400 grams of bread flour, 270 grams of water, 7 grams of fine salt, about 4 grams of instant yeast, and a tablespoon of neutral oil or softened unsalted butter. The water amount is a starting point. Flour can absorb different amounts, so reserve a spoonful until you see whether the dough comes together. Use a scale for the dry ingredients and water, and follow the temperature guidance on the yeast package.
Set out a clean bowl and leave a clear area to shape the loaf later. Use a timer to remind you to check the dough, but plan to look at the dough before moving to the next step. A loaf can be made in an afternoon when the room is warm. A cool kitchen may take longer. Give the first loaf a flexible place in the day so you can follow its progress without needing to bake it by a precise hour.
Mix until the dough becomes even under your hand
Stir the flour, salt, and instant yeast together. Pour in most of the water and mix with a sturdy spoon or your hand. Draw flour up from the bottom of the bowl until the mass has no wide dry areas. If it is too dry to gather, add the reserved water a little at a time. Let the mixture rest briefly once it is roughly together. A short rest gives the flour a chance to hydrate and makes the next few minutes of handling easier.
Work in the oil or soft butter, then knead on a clean surface or in the bowl. Fold the dough over itself and press it away with the heel of your hand. Turn it as you go. The fat may make the dough feel slippery at first. Give it time to disappear into the mass before adding any flour. If it sticks, use a scraper to lift it from the surface. A heavy layer of flour can make the loaf dry and harder to shape.
Stop when the dough feels mostly smooth and stretches a short distance without immediately tearing. A small bit pulled between your fingers should begin to thin before it breaks. It does not need to be perfectly translucent for this loaf. If it tears quickly and feels tight, leave it for five or ten minutes and try again. Stretching the relaxed dough is easier than forcing a stiff dough through another long round of kneading.
Let the first rise build volume
Put the dough in a clean lightly greased bowl, cover it, and leave it where the temperature is reasonably steady. Notice how much of the bowl it fills at the beginning. A transparent straight-sided container is helpful if you want to compare its height later. You do not need a special container if you take a moment to look at the shape before covering it.
Check after about an hour and then as needed. The dough should look rounder and noticeably larger, with a lighter feel when you move the bowl. Some kitchens will take longer than others. If the top looks tight and the dough has scarcely expanded, leave it for more time. Keep it away from direct heat that might dry or warm one part faster than the rest. An ordinary comfortably warm spot is enough.
Once the dough feels airy, turn it onto a clean work surface. Use only as much flour as you need to keep it from sticking. A lightly oiled surface also works if you are used to handling dough that way. Pat it out gently with your fingertips. Press any very large bubble if it would otherwise leave a hole through a sandwich slice. Leave the rest of the dough with enough air that it still feels light under your hand.
Roll the loaf with a seam you can close
Pat the dough into a rough rectangle. Make the short side about as long as the inside of the pan. If the corners are very uneven, ease them out with your fingertips without stretching them thin. Begin at a short edge and fold the first inch toward the middle. Press along that fold to make it hold. Roll forward again, keeping the width similar as you go.
Use enough pressure to keep the turns close, but leave the dough soft enough that it does not tear on the outside. A loose roll can leave a long tunnel where the layers meet. A tightly compressed one can produce a dense line. Look for an even cylinder that lifts as one piece. Pinch the seam closed when you reach the last edge. If the flour on the edge keeps it from sticking, brush the loose flour away with your hand.
Tuck in any thin end that extends beyond the main roll. Lift the loaf and set it seam-side down in the prepared pan. Check that its center is roughly aligned with the center of the tin. If one end sits much closer to a corner, adjust it while the loaf is still easy to move. The dough will fill the space during the second rise, and a more even starting shape gives it a better chance of rising to a similar height at both ends.
Read the second rise against the rim
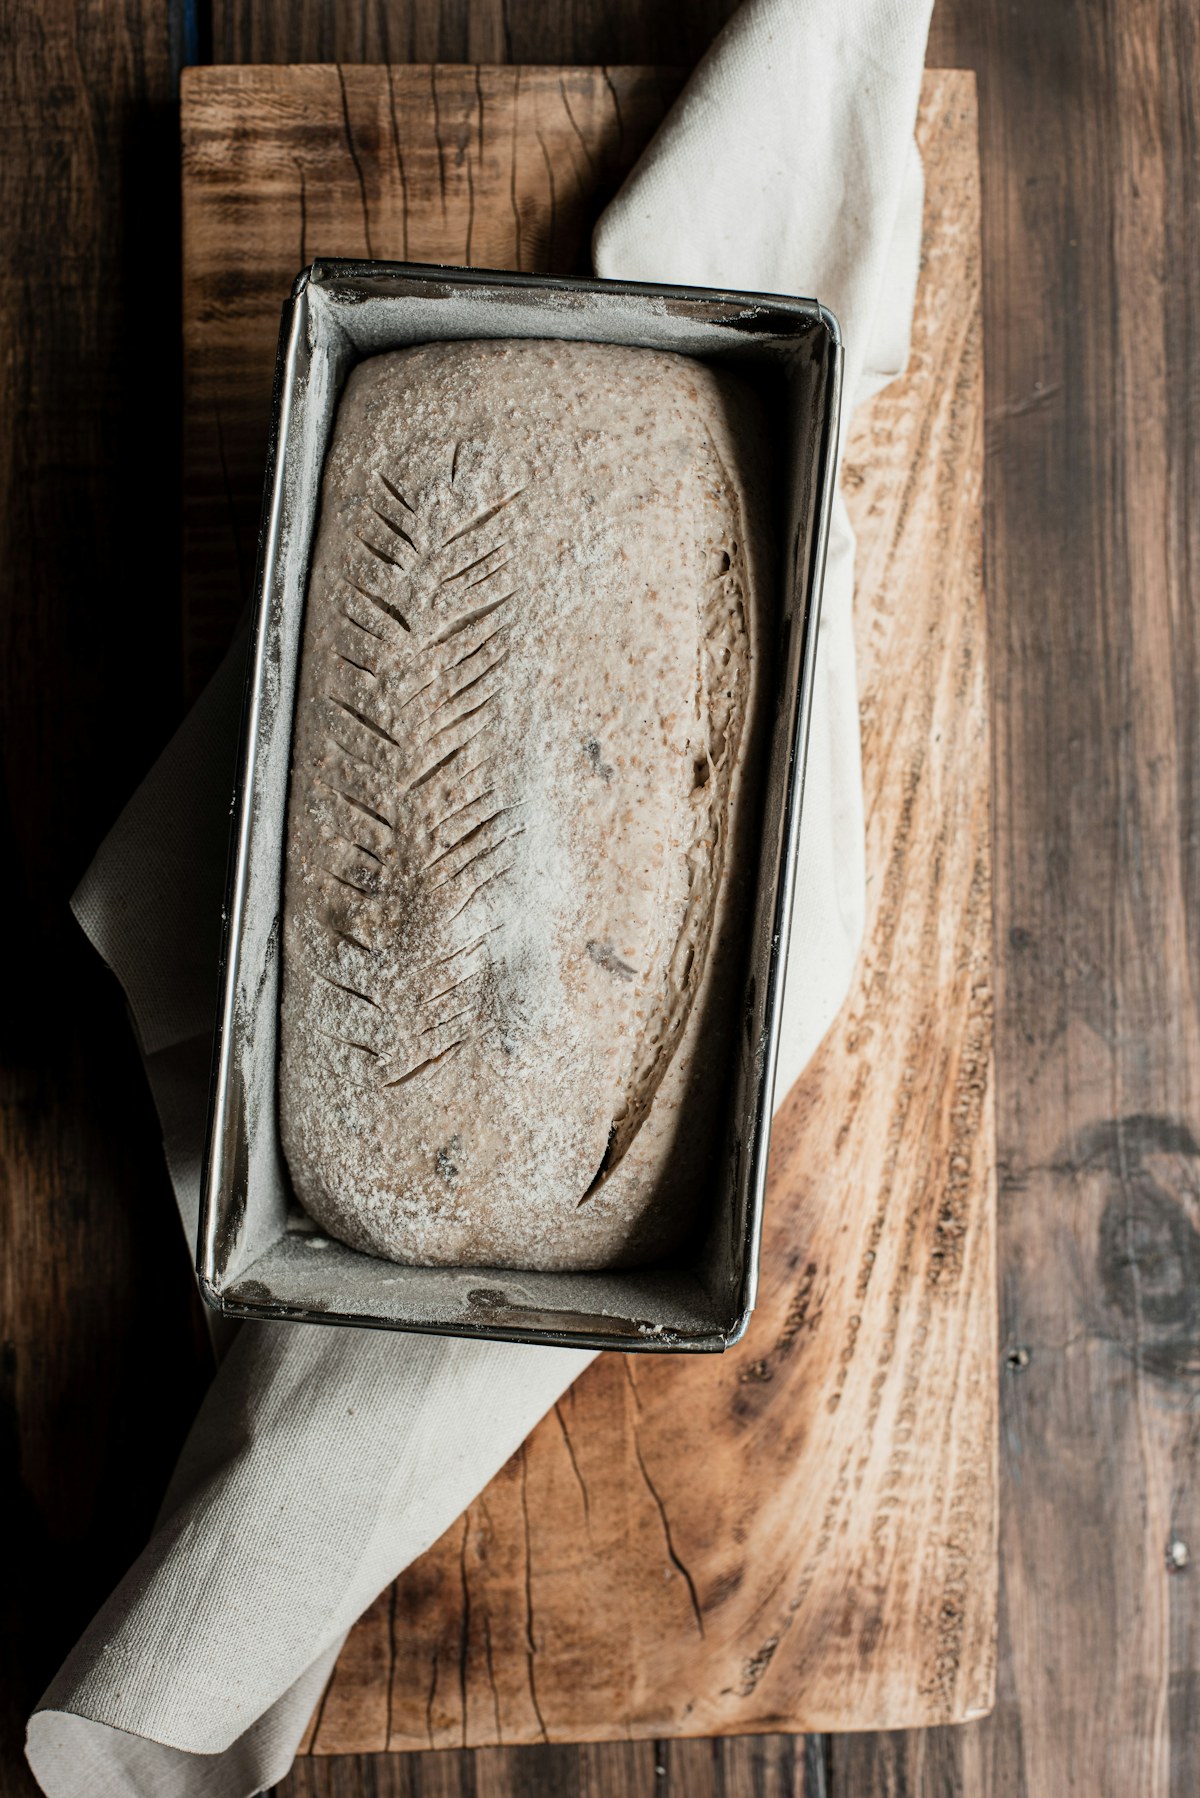
Cover the loaf without pressing down on it. Let it rise until it has a full rounded top and has expanded into the corners. In a standard pan, the middle will often come up near or a little above the rim. The exact height depends on the pan size and the dough. Press one small spot gently with a floured finger. If it returns immediately and the dough looks tight, it usually has room to rise longer. If the mark fills slowly and the surface looks puffy, it is closer to baking.
Heat the oven to 375°F or about 190°C in time for the loaf. When you take off the cover, inspect the surface. If it clings to the cover, ease it away rather than pulling sharply. A few shallow marks will bake out. If the surface has started to sag, bake promptly and take a note to check earlier next time. The dough can still be useful even if the loaf ends up lower than you wanted.
Bake for about thirty to thirty-five minutes, checking the color before the longer end of that range. The top should be well browned and the sides should look set. If the crown colors very early, loosely shield it while the rest finishes. Use the guidance for your recipe and oven to check doneness. Once the loaf is ready, loosen it and turn it onto a rack so air can reach the bottom.
Slice only after the center has settled
Let the loaf cool thoroughly before cutting it into sandwich slices. A still-steaming center can compress and stick to the knife even if the bread is fully baked. Place the loaf on its side if the crust makes it difficult to cut from the crown down. Use a sharp serrated knife and a light sawing motion. For even slices, mark the intervals along the edge or cut from a line you can see on the board.
Look at the first full slice. A long tunnel near the top may come from a loose seam or extra flour trapped during rolling. A tightly packed band near the bottom may point to a short rise or too much pressure during shaping. Use what you see to choose a small change for the next loaf. If the center is even and the crust only seems a little dark, adjust the oven position or check earlier before changing the dough.
If you want bread for several meals, let it cool before wrapping and store it appropriately. Freeze portions in a suitable container if they will not be eaten soon. Slices separated before freezing are easier to take out individually. The size of a slice that held your favorite filling is the most useful measurement to keep. Match the tin and shaping to that slice the next time you bake.
For toast, use a piece from the center and one nearer the end to see how their shapes suit the toaster. A taller slice can need turning, while a shorter, wider piece might fit comfortably. For a soft sandwich, check whether a thin slice stays together when it is spread with butter or a thick filling. A loaf that tastes good but needs unusually thick slices might benefit from a slightly longer bake or a fuller first rise. Keep the same pan for that comparison so the shape is the one detail you can hold steady.