Start with rolled oats and a modest scoop
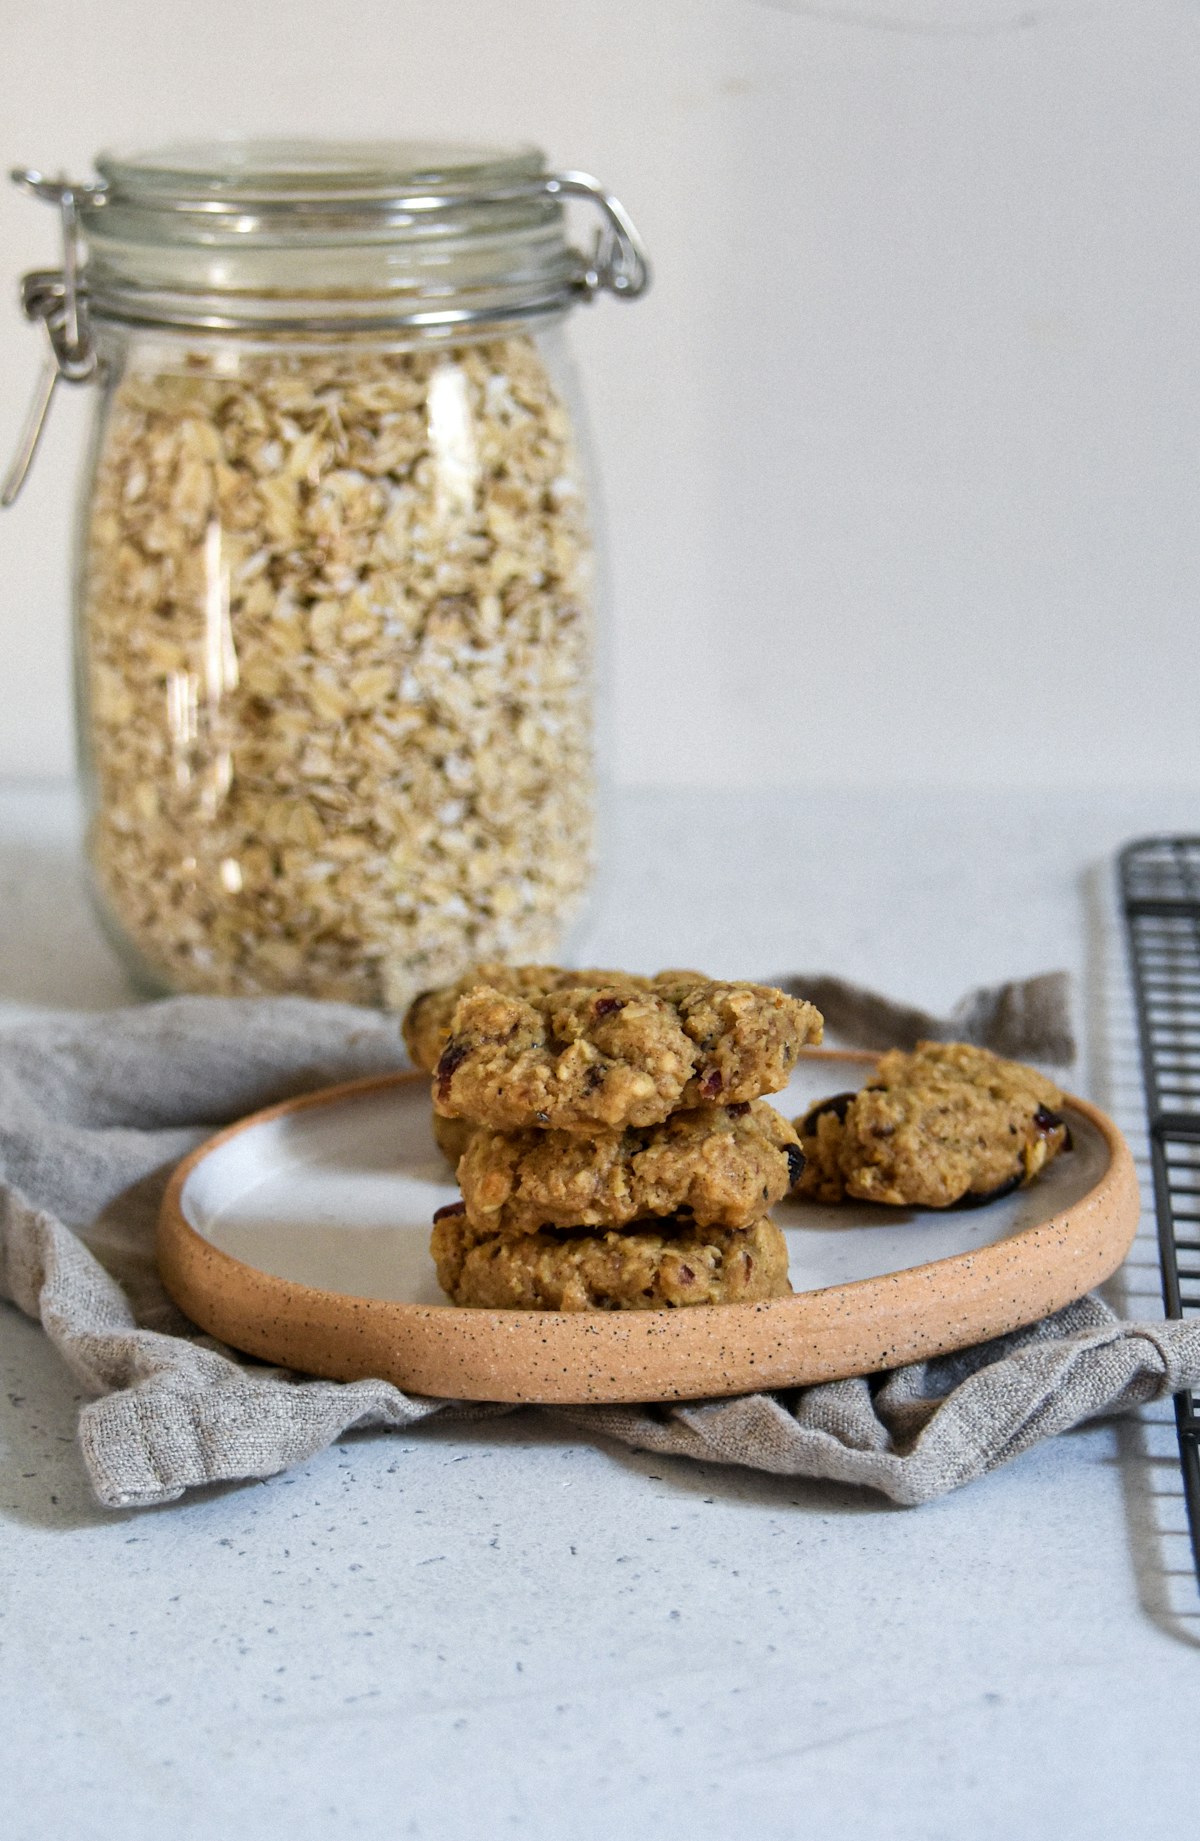
A chewy oatmeal cookie needs room for the oats to stay noticeable while the dough around them bakes into one piece. Rolled oats give a distinct texture and are a useful starting point. Quick oats can blend into the dough more evenly and may take up moisture differently. Steel-cut oats do not behave the same way in this sort of cookie. Check the package and choose ordinary rolled oats for the first batch. If you try another kind later, use the same scoop size so you can see what changed.
For around sixteen medium cookies, gather 120 grams of plain all-purpose flour, 100 grams of rolled oats, 115 grams of softened unsalted butter, 100 grams of packed light brown sugar, 40 grams of granulated sugar, one large egg, half a teaspoon of baking soda, and half a teaspoon of fine salt. A little vanilla or cinnamon is optional. Use a scale for the main dry ingredients. A heavy scoop of flour can make the cookies tall and crumbly. A light one can leave them thin enough that the whole cookie turns crisp.
Set out a large mixing bowl, a sturdy spoon or mixer, and a rimmed sheet. Prepare the sheet according to its maker's directions. Use baking parchment rated for the temperature if you want it, and leave enough room for the cookies to spread. Heat the oven to 350°F or about 175°C before you start baking. You can mix the dough first and chill it as needed, rather than leaving shaped dough beside a warming oven.
Soften the butter without letting it melt
Press the butter gently with a finger or spoon. It should yield without looking oily or running across the bowl. Cold butter takes longer to mix and may stay in lumps. Melted butter gives the dough a different starting texture and can make the cookies spread sooner. Leave the butter until it is soft enough to stir, or use your normal safe method to soften it without heating it unevenly.
Stir or beat it with both sugars until the mixture is even and the darkest streaks have disappeared. Scrape down the sides of the bowl. Brown sugar can form small hard lumps that will remain if you leave them until the flour goes in. Add the egg and any vanilla and mix until the egg no longer sits in a separate shiny layer. The bowl does not need a very high volume of foam. An even mixture gives you a dough whose first and last cookies bake in much the same way.
Whisk the flour, baking soda, salt, and any spice in a second bowl. Add this mixture to the butter mixture and fold until only a few streaks remain. Stir in the rolled oats and stop when the dough comes together. Do not taste uncooked dough that contains raw flour or egg. If adding a small handful of raisins or chocolate, mix them in with the oats so you do not have to keep stirring after the flour is wet.
A dough that feels warmer than expected can be divided before chilling if you already know how large the cookies should be. Put the portions on a clean covered tray in the refrigerator and move only the ones you are about to bake. They will begin to soften as soon as they come out. Compare a cold test portion with one that stood briefly on the counter to see which gives you the spread you want.
Check the shape of one raw scoop
Use a spoon or cookie scoop to portion about the same amount for each piece. Around two level tablespoons gives a medium cookie. Set one on the prepared sheet and see whether it holds as a rounded mound. If it immediately flattens into a wide soft disk, chill the dough briefly before putting the whole batch in the oven. If it stays very stiff and the oats stick out loosely, let it rest a short time and check that the mixture was measured and combined fully.
For the first trial, leave the scoops slightly rounded. This gives the center more thickness while the outer edge spreads. A dough that does not spread much can be flattened gently before baking the next round. Leave several inches between pieces on the sheet. It is easier to see how a cookie is doing when its edge is still separate from the next one. In a small oven, bake in two rounds rather than fitting the whole batch shoulder to shoulder.
Try one cookie or a few before committing the entire bowl. Keep the rest covered in the refrigerator if you need to wait. Use a cool tray for the next round. Dough placed onto a sheet still hot from the oven can begin spreading before the batch has started baking. The test is more useful if the second round starts in similar conditions.
For a few larger cookies, use a separate tray so their extra baking time does not darken the smaller ones.
Look for set edges and a center that has finished baking
Bake on a middle rack and begin checking at about ten minutes. Small cookies or a dark sheet can finish sooner, while large pieces may take longer. The edges should look set and lightly browned. The center may look softer than the edge, but it should no longer look wet and raw. Give it more time if there is still a shiny uncooked patch. Use the appearance and timing together rather than removing the tray as soon as the outer rim changes color.
Once the cookies are done, set the sheet on a heatproof rack or surface and leave them a few minutes before moving. They can be fragile while hot and may finish firming as they release heat. Lift with a thin spatula once the base can hold its shape. Move them to a rack to finish cooling. Taste one when it is cool enough to tell the difference between warm softness and a chewy center. A cookie that seems very soft from the oven can become firmer after ten minutes.
If the cookies became crisp all the way through, use a slightly bigger scoop or check earlier next time while making sure the dough is baked through. If they are thick but dry, check the flour weight and whether the pan stayed hot for much longer than needed. If they spread into a nearly flat layer, cool the dough and make sure the butter was softened rather than liquid. Test one change. Several adjustments at once make it hard to remember which one gave you the cookie you liked.
Put add-ins in places where they will survive the bake
Raisins can give an oatmeal cookie a softer chew. Use a small handful and distribute them evenly. A piece sticking out at the thinnest edge can dry or darken before the cookie finishes. Move any unusually large piece toward the middle when shaping. Chocolate can melt and make a dark spot at the edge. If you want the oats to stay obvious, use small pieces and keep the total quantity modest.
Chopped nuts can give a crisp contrast if they are appropriate for the people eating them. Check labels and keep the batch separate as needed for allergies. A cookie can taste quite rich with butter, brown sugar, and nuts together, so try a small amount in only part of the dough. A plain cookie baked beside it gives you a fair comparison. If the plain one tastes complete, you may prefer to leave the extra texture for another batch.
If using spice, add it to the dry mixture rather than sprinkling a large amount across the tops. A little cinnamon can make the oat flavor seem warmer. A very strong finish can cover the difference between a lightly toasted oat and an underbaked center. Start with a small amount and taste the finished cookie. The second batch can carry more if the first needs it.
If you want the full batch to have a little more variation, put several plain scoops and several with an addition on the same cool sheet, with room between them. Use separate batches and equipment instead if allergies require it. Keep the scoop size consistent. Chocolate or fruit near the edge can color faster than the plain dough. Check one cookie of each before taking the sheet out. If the plain version is ready first, lift it off only once it can be moved safely.
Keep notes for the next tray
Record the scoop size, approximate bake time, and whether the dough was chilled. Note how the cookies tasted once cool. Store cooled cookies as appropriate for their ingredients and the room, and keep them covered if you want the centers to stay tender. If freezing, follow suitable storage guidance and separate portions you want to take out one at a time.
When the next tray is ready, compare a cookie from the cooler edge of the sheet with one from the middle. If both set well but one has the amount of crunch you prefer, position the next batch accordingly or rotate the tray once. Keep the oats you liked and the scoop that gave you the right center. Those details let you change the flavor later without losing the texture you worked out.