Decide when you want the bread on the table
Focaccia is convenient when the schedule leaves room to look at the dough rather than giving each rise an exact deadline. A cool kitchen can slow the dough while a warmer one can make it ready before you have cleared the counter. Plan the bread for a meal with flexible timing the first time you make it. It can be served at room temperature, so finishing early is often simpler than waiting for it while everyone is ready to eat.
For one shallow metal pan about nine by thirteen inches, gather 400 grams of bread flour, 320 grams of water, 7 grams of fine salt, and about 4 grams of instant yeast. Keep a few tablespoons of olive oil available for handling the dough, coating the pan, and finishing the top. Use a scale for the flour and water. This dough is deliberately wet. A large difference in either measurement changes how it feels, and adding flour to the bowl later can make the center much less open than expected.
Use room-temperature water unless the room is especially cool and you want to give the dough a warmer start. Follow the guidance for the yeast you bought and avoid hot water. Have a flexible scraper or sturdy spatula ready. Once the ingredients are mixed, you should be able to move the dough without dusting the counter or using a mixer.
Mix a rough dough and leave it alone briefly
Put the flour, yeast, and salt in a wide bowl and stir them together. Pour in most of the water and stir until the flour starts to gather. Add the rest and scrape around the bottom until there are no obvious dry patches. The mass will be sticky and may look uneven. Cover the bowl and let it sit for about twenty minutes. The flour will take up water, and the dough will become easier to handle even if it still sticks to a bare finger.
Wet your hand lightly and slide it down the side of the bowl. Lift a flap of dough, stretch it until you feel resistance, and fold it toward the center. Turn the bowl and repeat three or four times. Keep the movement gentle enough that the flap does not tear. If the dough barely stretches, wait a little longer before doing another round. If it stretches easily, the lifted portions may stack into a soft mound that holds its shape briefly before relaxing.
Do two or three more rounds with rests of roughly twenty to thirty minutes between them. Each set of folds should feel different. The first ones lift part of a loose mixture. The later ones can pick up much of the dough in one piece. Cover the bowl between rounds to keep the surface from drying. Stop adding folds if the dough is gathering bubbles and already feels able to hold itself together.
Look for a rounded edge and bubbles before transferring
Let the dough continue rising in the covered bowl. A straight-sided clear container makes changes in size easy to see, but a mixing bowl also works. Notice where the edge meets the bowl. A dense mixture lies low with a dull surface. As it rises, the edge can look rounded and there may be little bubbles along the wall. Give it time to become visibly larger and airy. The exact amount of time depends on the temperature of the dough and room.
Move the dough before the largest bubbles have started to collapse on their own. Coat the bottom and lower sides of the pan well with olive oil. Tip the bowl slowly and use the scraper to coax out the dough. A large mound can fall in together if you give it time. Avoid pulling pieces away from it just to make the bottom of the bowl clean. Try to preserve some of the air you can already see at the edges.
Turn the dough once in the oil if you can do so without tearing it, or drizzle a little oil across the exposed surface. Use oiled fingertips to ease the mound outward. If it pulls back from the corners, leave it in the pan for another ten to fifteen minutes before stretching it farther. The rest is often enough for the dough to relax. A small gap in one corner is better than a thin sheet with several torn edges.
If you expect to wait a while before you can bake, put the covered dough in the refrigerator before it gets close to the end of the first rise. The dough will keep changing as it cools. When you bring it out, wait until it loosens enough to move without tearing.
Let the dough fill the pan before dimpling
Cover the pan in a way that leaves room above the dough. Give it a second rise until the surface looks puffy and the dough moves with a soft wobble if you shake the pan gently. Look along the sides for small bubbles. A dough that is already near the corners will continue to spread as it rises. If the dough is slow, give it more time rather than pressing it repeatedly to test its progress.
Heat the oven to 425°F or about 220°C before the pan goes in. Use a rack in the lower half if your oven tends to color the top early. Once the dough looks puffy, drizzle a thin layer of olive oil over the surface. Dip your fingertips in the oil and press straight down in several places. Leave some undisturbed bubbles between your fingers. A dimple that slowly fills a little is fine. There is no need to press the same hole repeatedly.
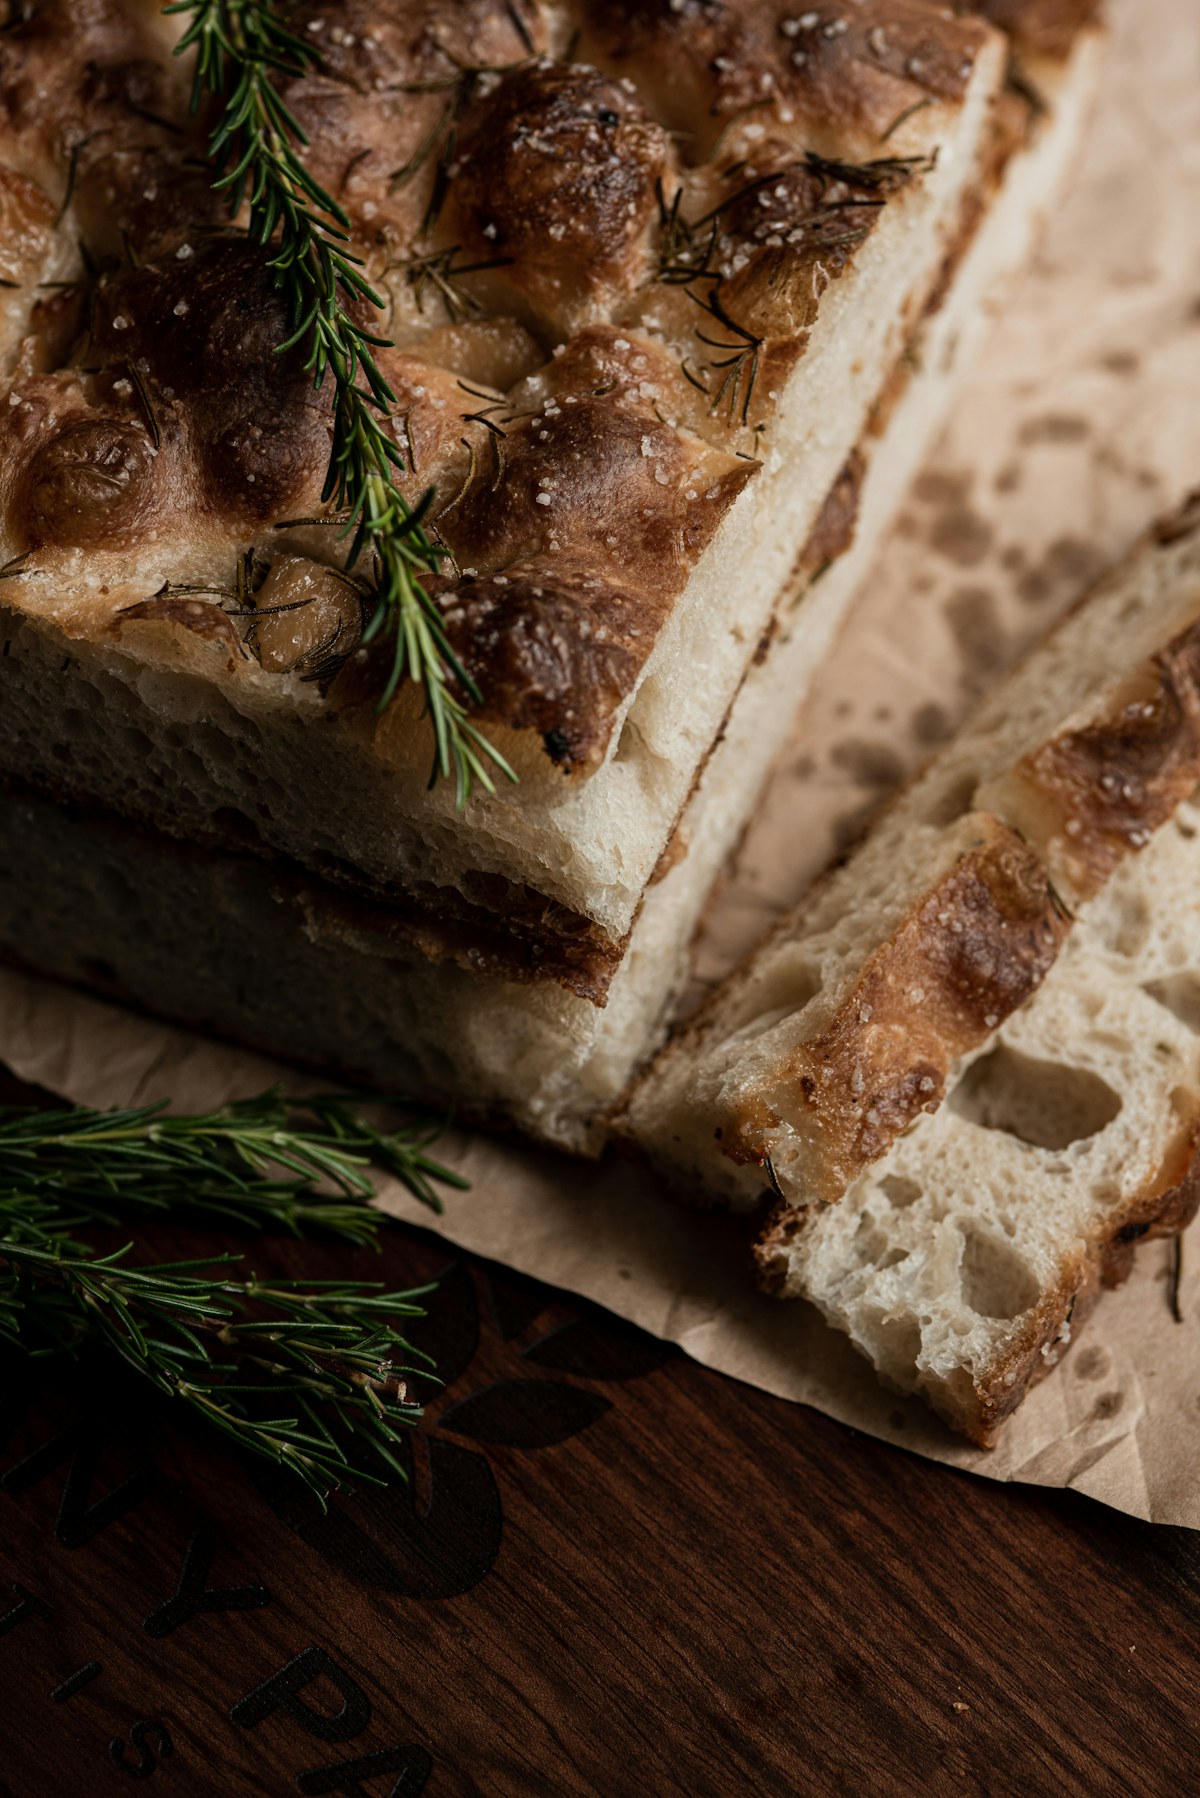
A pinch of coarse salt and a little rosemary make a simple topping. Coat any exposed herb leaves lightly with oil so they are less likely to dry sharply in the oven. If using something wetter, such as halved cherry tomatoes, use only a small amount for the first try. Extra liquid can collect in the dimples, particularly if the dough has been pressed flat around the toppings. Leave enough of the surface exposed to see the color of the bread itself.
Check the underside as well as the top
Bake for about twenty to thirty minutes, depending on the pan and oven. Begin checking when the ridges become golden. The deepest dimples can stay lighter, but the top should look set and the edges should have color. If you can lift one corner safely with a thin spatula, look at the bottom. A pale, soft base needs longer, especially when the top already looks fairly dark. Move the pan down a rack if more heat is needed beneath it.
If one end colors before the other, rotate the pan once near the end of baking. Avoid moving it while the dough is still visibly wet around the edges. When the whole bread is done, loosen the perimeter carefully and lift it onto a cooling rack if possible. A rack gives the base somewhere to release steam. Leaving the bread in the hot oiled pan can soften the bottom, which is useful to know when you are trying to decide why the second piece has less crunch than the first.
Wait a few minutes before cutting. A serrated knife will make a cleaner edge when the bread is no longer releasing a lot of steam. Look at the cut side. The crumb should look set, with a mixture of smaller and larger openings. If the center feels gummy while the crust is quite dark, try a lower rack or slightly lower temperature next time and give the inside more time. Check whether a particularly wet topping covered the place where the problem appeared.
Change the process where the last loaf asked for it
A dense loaf can come from more than one step. If the dough had few bubbles before it moved into the pan, spend longer on the first rise. If it grew in the bowl and then lost most of its air during shaping, tip it in more gently. If it looked puffy in the pan but the finished bread was compressed under each topping, use less topping and give the bubbles more room during dimpling.
For a stronger base, try a darker metal pan if you already have one, keeping an eye on browning. Pay attention to how much oil coats the bottom. A little more can produce an edge with a pleasantly fried texture. An excessive layer can make the bread feel greasy. Spread it evenly rather than pouring most of it into one corner. If the first bake worked but you want a different flavor, put herbs or a little flaky salt on only half the next pan so the plain side remains available for comparison.
Cut a cooled slice and taste the center, the top edge, and the base separately. A faint olive-oil flavor might be all the center needs. An edge that already tastes salty may not benefit from more salt on the next batch. Record when the dough looked airy in your kitchen and when the underside finished. Those two observations will help you put the next loaf on the table even when the room or the weather changes.