Begin with tomatoes that can keep some shape
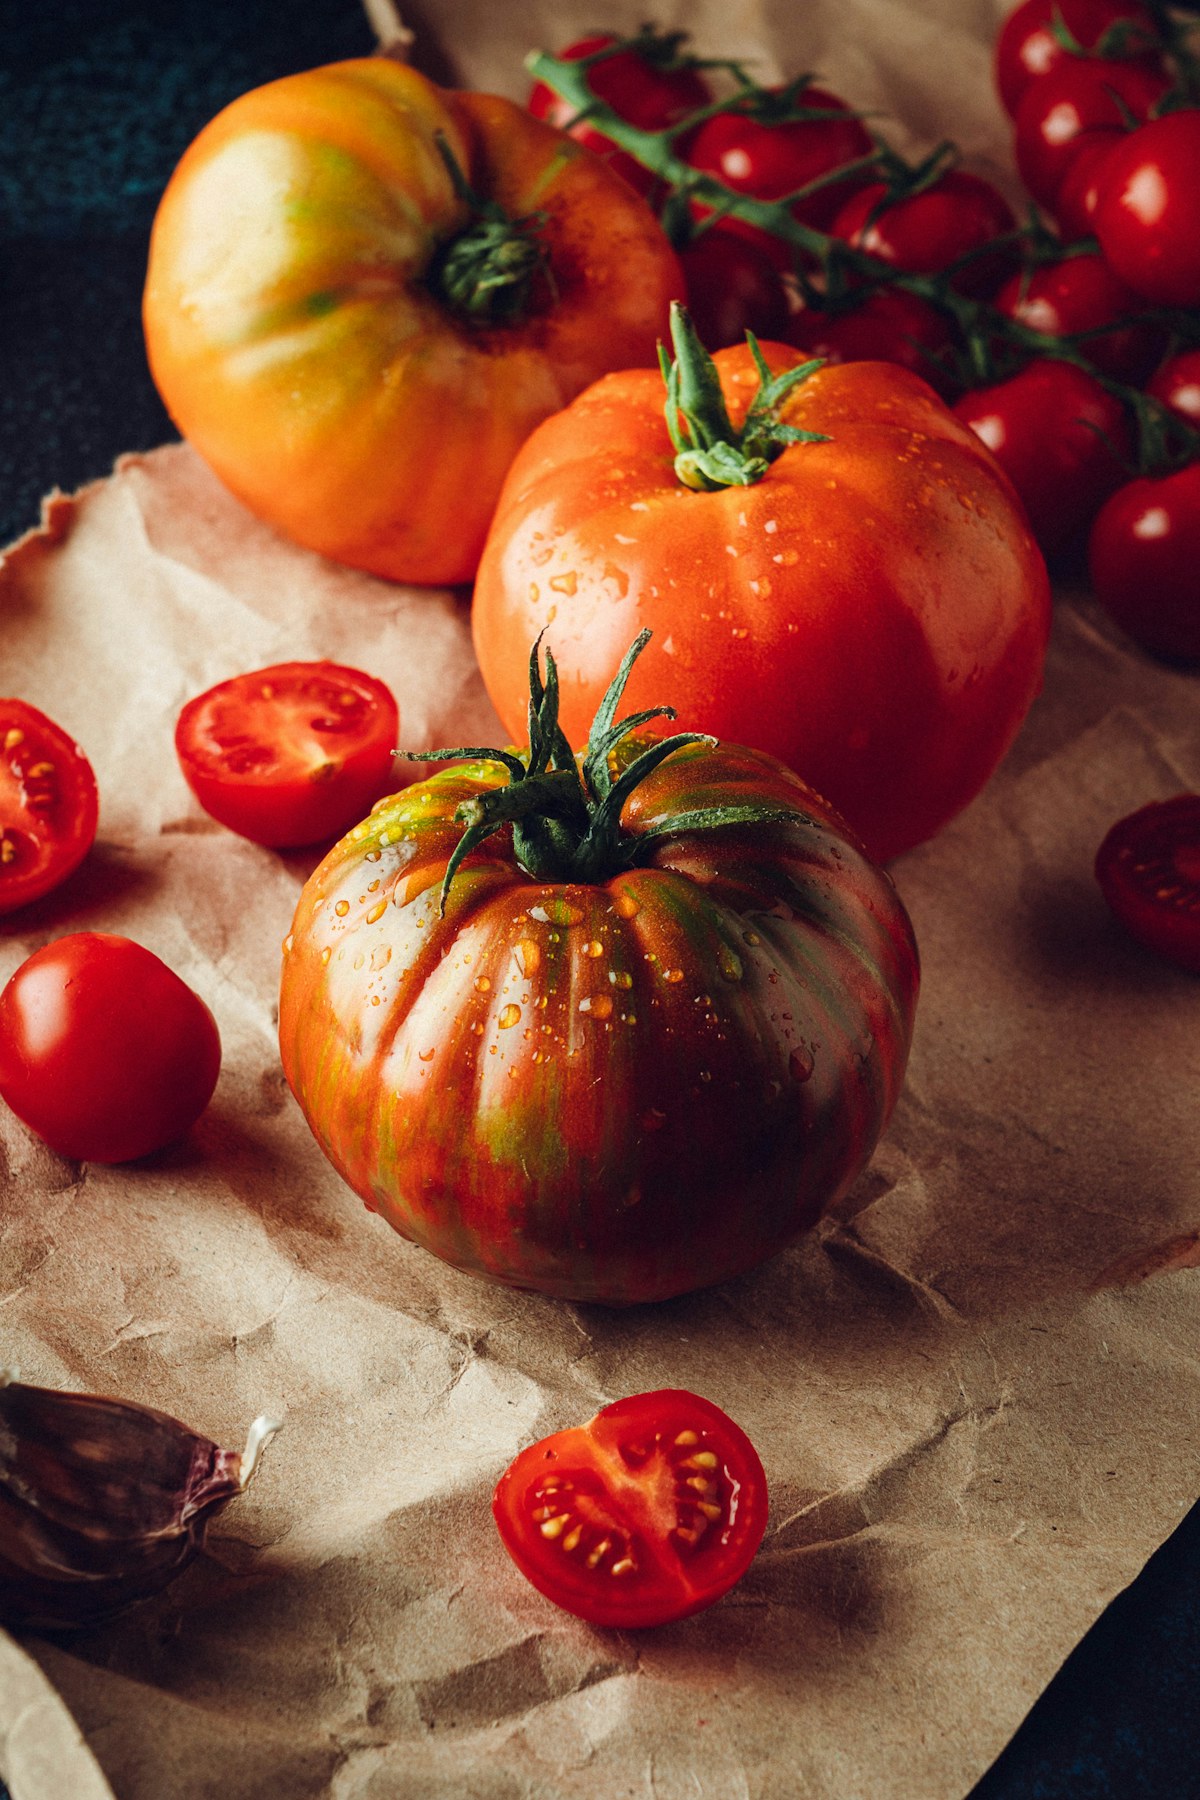
A tray of small tomatoes will cook differently from a tray of thick slices cut from one large fruit. Small tomatoes have skins that can hold the pulp until they burst. A large tomato cut into pieces exposes more flesh and releases liquid sooner. Decide how much texture you want on the plate. Use whole cherry tomatoes when you want soft little pockets of juice. Use halves or chunks when you want a sauce that begins to collect in the pan before you break anything apart.
Choose sound tomatoes and wash them under running water. Remove any stems and trim damaged areas as appropriate. A tray is useful for tomatoes that taste fine but are a little firmer or less aromatic than the ones you would slice raw. A strong tomato does not need to be hidden under many seasonings. Start with olive oil or another oil suitable for the heat, fine salt, black pepper, and one optional herb. Leave garlic or balsamic vinegar for a separate trial so you can taste what the tomatoes themselves contribute.
Plan about a pound for a small tray. Use a shallow rimmed metal pan or a suitable oven dish that will hold the juices. Set the tomatoes in it before seasoning and look at how much of the surface they occupy. A few open patches are useful because moisture can leave the exposed area. A very wide empty tray can spread the juices thin enough to scorch. Choose a pan that gives the fruit room without sending every drop to the farthest corner.
Cut for the place where the juice should collect
For cherry tomatoes, leave some whole and halve the rest through the stem end. The cut halves release enough juice to start a shallow sauce while the whole fruit keeps a distinct shape. Put the halves cut-side up if you want the tops to dry slightly before they collapse. Put some cut-side down if you would like the juices to spread into the pan earlier. You can test both positions and choose from the finished tray.
Cut larger tomatoes into thick pieces. A very thin slice can soften completely and stick before the rest of the pan has enough flavor. Quarter a small plum tomato or divide a larger round one into wedges. Try to make the widest part of each piece similar. Keep any thin pieces at the cooler edge or remove them early. If the tomatoes are unusually juicy, use a deeper rim and carry the pan level once it is hot.
Toss with enough oil for a light shine and sprinkle with salt. Black pepper can go on now or near the end if you prefer a fresher smell. A small sprig of thyme is suitable when you want a quiet herbal flavor, but taste the plain tomatoes first if you are testing a new variety. Keep the other seasonings visible and easy to remove. It is difficult to tell how sweet a tomato became if every piece has already been covered in a strongly flavored finish.
Roast until the pan shows two useful textures
Heat the oven to 400°F or about 200°C with a rack near the middle. Use the cooking temperature appropriate to the pan and any liner. Slide the tray in and leave it alone until the first tomatoes begin to soften and the exposed edges start to take on color. For a small tray, begin looking after about fifteen to twenty minutes. The exact time depends on the size and water content of the tomatoes. Look for skins that have wrinkled and juice that is bubbling slowly around the base.
Lift one tomato with a spoon and see whether it holds together. If you want pieces for toast or a salad, take out the ones that still have structure once the centers are soft. If you want sauce, leave more of them in the pan and gently press a few to release their juices. Keep the pan in the oven until the free liquid has become concentrated enough to coat a spoon. Do not wait for the entire base to look dry. The best part of this tray may be the liquid.
If the juices are darkening in one corner while the tomatoes are still firm, move the pan away from the strongest heat or shift the juices carefully toward the center with a spoon. If the pan is full of pale liquid after the fruit has softened, take out the tomatoes you want to preserve and reduce the juices separately. That gives you control over the sauce without cooking every piece into the same texture. Use a suitable small pan or return the tray to the oven only if it is safe to do so.
Taste the sauce before adding acid or sweetness
Spoon a little juice into a bowl and let it cool enough to taste. A roasted tomato can become quite sweet or more sharply concentrated depending on what you started with. Try a drop of olive oil first if the taste seems too narrow. If it is pleasantly sweet but heavy, add a small drop of vinegar or lemon to the sample. If it already tastes bright, season with a little salt and stop there. A strong finish can obscure the difference between a tomato that was roasted and one that was simply covered in dressing.
If you want a smoother sauce, crush some of the tender pieces with the back of a spoon. Leave the rest intact for the top. The skins are useful in a rustic dish. If you dislike their texture, lift the largest loose skins away after the tomatoes cool enough to handle, or use a suitable strainer for the portion you want very smooth. The sauce may need a little extra liquid if you remove much of its pulp. A few drops of warm water can make it easier to spread without changing the flavor much.
Fresh basil or parsley can go on just before serving. Tear or chop a little and add it to one spoonful first. A soft herb gives a distinct smell beside the hot tomato. If you roasted a sprig with the tray, remove it before spooning out the juices. You can use the herb again as a fresh garnish only if that is the flavor you want. Tomatoes and a pinch of salt can already make a complete topping.
For a tray that needs garlic, try adding a split clove to one corner near the middle of cooking. Coat it lightly with oil and keep it where you can remove it. Taste that corner of the juices before stirring them into the rest. A little warm garlic can be enough for toast, while a stronger garlic flavor may suit a bowl of beans. Let that intended meal decide how much of the clove you mash into the sauce.
Use the juices as part of the meal
For toast, keep the bread crisp until the tomatoes are ready. Spoon a thick portion onto each piece and hold back the thinnest liquid. A little juice can run into the top of the bread and make it easier to bite. Too much will quickly soften the base. Serve the remaining liquid in a small bowl if people want to add it. A mild cheese or a few tender leaves can be set under the tomatoes without needing a separate dressing.
For pasta, loosen the roasted tomato mixture with a little warm cooking water if needed and turn the noodles through it just before serving. Add the most intact tomatoes at the end so they remain recognizable. Taste the sauce with a piece of pasta. The pan juices may have enough concentration to season a full serving even if there are not many visible pieces. If the noodles still look dry, spoon in more juice before adding oil or cheese.
For beans, warm a serving in a little of its own liquid and add roasted tomatoes once the beans are hot. The tomato juices can act as part of the broth. Use enough to taste them in the first spoonful and keep the remaining pieces for the top. If the beans already have a strong herb or spice, check a small portion first. A simple tomato can work with many flavors, but one pan does not have to carry them all.
Keep two portions if you expect two meals
Serve some of the intact tomatoes first and store any leftovers promptly according to suitable food-safety guidance. Keep the concentrated liquid separate when it is meant to become a sauce the next day. It is easier to add extra juice to a serving than to take it away from a slice of toast. Label the container if you used a strong herb or garlic so the next meal can be planned around it.
Make a note of which cut gave you the texture you enjoyed most. A large tomato with a wide cut surface may have browned while a small tomato stayed round and juicy. Use the same pan next time if it kept the liquid in a useful area. The finished tray should have something you can lift with a spoon and something you can pour. Decide how much of each the meal needs and stop roasting when both are ready.