Start by sorting the bunch
A bunch of carrots often contains several sizes, and each shape gives you a different chance of browning. A short, thick carrot has a broad center that takes longer to soften. A slim one can be tender by the time a bigger one has only started to color. Put the carrots side by side and sort them roughly by thickness. Keep the thin ones whole if the skin looks good. Split a medium carrot lengthwise, and cut the thickest one into pieces with a similar width. Give each split piece at least one face that can sit flat on the tray.
Clean the carrots under running water, paying attention to the grooves near the tops. Peel thicker carrots if their outer layer feels coarse or looks damaged. Young carrots may be fine with a good scrub. Trim the ends and pat them dry. If the bunch came with greens, keep sound greens aside only if you already know you want to use them in a suitable recipe. They do not need to stay attached to the pieces you are roasting. The leaves can dry and darken before the carrot is tender.
Plan on about one pound of carrots for a small side dish. Have olive oil or another suitable cooking oil, fine salt, whole or ground cumin, a lemon, and a little plain yogurt or butter if you want a fuller finish. The carrots themselves may be sweet, so wait before adding anything sugary. Their flavor and the amount of browning they take will tell you whether the dish needs extra sweetness or only acidity and salt.
Give the cut surfaces time to develop color
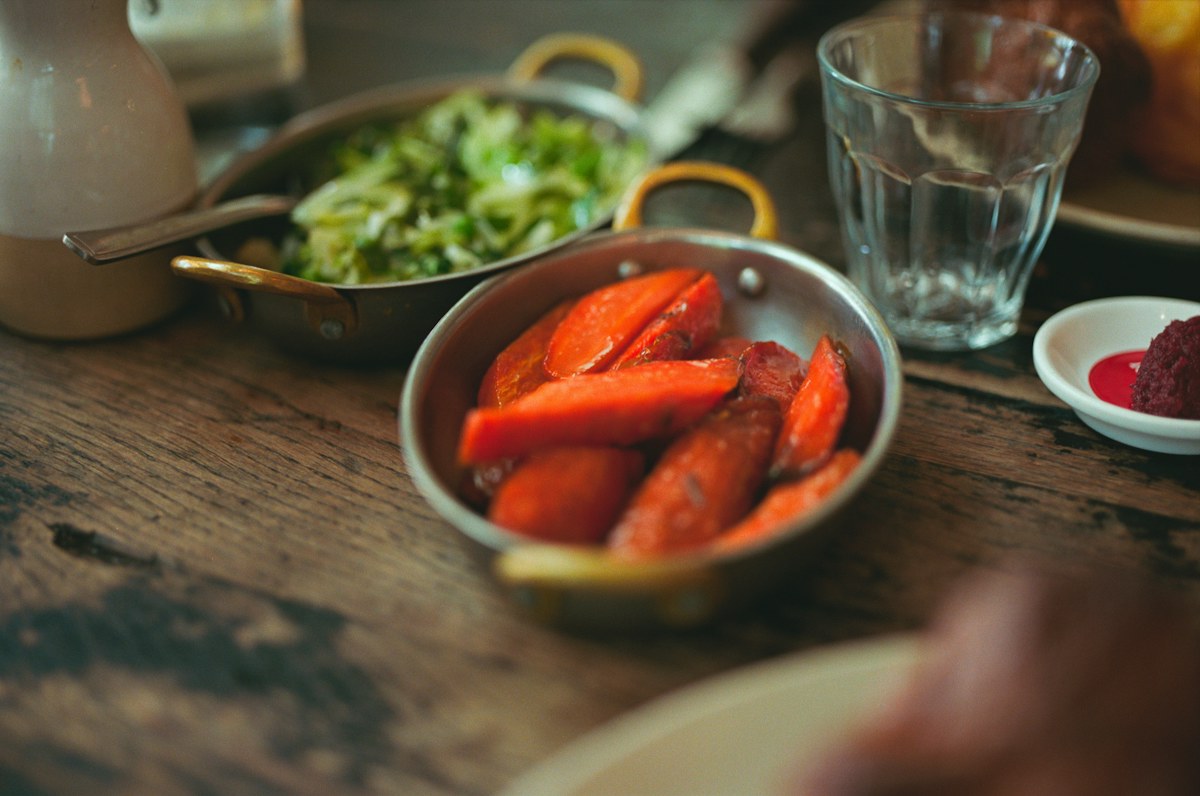
Heat the oven to 425°F or about 220°C. Use a flat rimmed metal tray large enough for the pieces to sit in a loose layer. Toss the dry carrots in a bowl with enough oil to leave a light coat. Sprinkle with salt and turn them once more. Place the split pieces cut side down. Leave room around the whole ones so they can dry and color on the side they touch. If several pieces have to lean on each other, use a second tray or roast part of the bunch another time.
Put the tray on a rack near the middle of the oven. Let the first side cook undisturbed for about fifteen minutes, then check a thicker piece and a thin one. Lift them with a thin spatula. A browned patch on the cut face tells you the tray is doing its job. If the top still looks pale, it may already have more color than you can see. Turn pieces that have a good color and leave the rest where they are for a few minutes longer.
Begin checking tenderness as the color develops. Insert the tip of a small knife near the widest point. If the knife enters with a little resistance, the carrot is approaching a texture that can be eaten with a fork. If the narrow pieces are already tender, take them out and leave the larger ones to finish. A finished carrot can sit on a warm plate briefly. Leaving it on a hot tray while waiting for the thickest piece can make the thinner one dry out.
Toast the cumin while the carrots roast
For whole cumin seeds, start with about half a teaspoon. Put the seeds in a small dry skillet and warm them gently. Shake the pan once they begin to smell fragrant. The smell is the first cue. If the seeds darken rapidly, pull the skillet away from the heat. Tip them into a small bowl so they stop toasting. Crush them lightly with a mortar or press them with the back of a spoon. A few intact seeds can give the finish a more distinct texture.
Ground cumin is simpler if you have no whole seeds. Warm a small pinch in a spoonful of oil over low heat and take it off when you can smell it. Keep the first quantity small, because the ground spice can disperse across every piece at once. You can also stir it into a little yogurt or a knob of melted butter without toasting it separately. This gives you a chance to taste it before adding it to the tray.
The spice should support the carrots rather than making them all taste the same. Put a little cumin on one finished piece and taste it. If you can still recognize the carrot and notice the warmth near the end of the bite, the amount is useful. If the spice feels dusty or dominates immediately, stir it with a little more oil, butter, or yogurt and use less of the mixture. It is easier to begin with one spoonful than to dilute a whole tray.
Use lemon for fragrance and acidity separately
Grate a little zest from the lemon before you cut it. The zest gives a bright smell with very little liquid. Stir some into the crushed cumin or add it directly to the carrots once they are out of the oven. Taste a piece before squeezing juice across the entire tray. A deeply browned piece may already taste strong, while a softer carrot with less color may welcome more acidity. Check both if the bunch was varied.
Squeeze a small amount of juice into a bowl and add it by the teaspoon. Give one piece a few drops and taste it with the salt and cumin. If the lemon pulls the flavors together, add a little more across the plate. If the carrots already have a sharp edge, use the zest alone and leave lemon wedges on the side. The best amount can vary from one lemon to the next and from one serving to another.
Add the finish while the carrots are still warm, but leave a few browned surfaces dry. If you want a visible sauce, spoon it along one side of the plate. For a cool version, stir the zest and cumin into plain yogurt and keep the lemon juice in the sauce instead of on the vegetables. For a warmer version, stir the crushed seeds into melted butter and spoon it lightly across the cut faces. Both allow you to decide how much lemon is needed after the carrots are done.
Turn the side dish into dinner if needed
Serve the carrots over a cooked grain with a spoonful of yogurt if they need to carry a meal. Slice the longest pieces into fork-sized portions. Put a few browned faces on top where you can taste them before they absorb moisture from the grain. A plain grain may need its own pinch of salt and a little oil. Taste a bite with both the base and the carrots before adding more cumin to the whole bowl.
Cooked lentils or white beans make another useful base. Warm them with a little of their own liquid so that they can be spooned onto the plate. Add the carrots near the end so the browned edges stay recognizable. If the beans already have a strong seasoning, put the lemon yogurt beside them and let each serving find its own balance. A little chopped parsley can finish the dish without introducing another spice.
If you want a sandwich or flatbread, use smaller pieces and place them in a single layer. A whole thin carrot can slide out when you bite into the bread. Split it again or cut it across the middle so the filling holds together. Use a thicker sauce, such as yogurt stirred with a small amount of cumin, to keep the pieces in place. Put any crisp vegetables above the carrots so they do not catch all the roasting juices.
For a cold lunch, cool and store the cooked carrots promptly using appropriate food-safety guidance. Keep the dressing apart until serving. The surface will be softer than on the original tray, so slice the pieces and use them with something crisp, such as a small amount of chopped celery or a handful of crunchy greens. Taste the mixture after adding the vegetables. A pinch of salt can make more difference here than another large splash of lemon.
Compare a very thin carrot with a thick one
Take one bite from a whole slim carrot and another from the center of a thick split piece. The slim one may have a firmer skin and a concentrated flavor. The larger one can have a tender center and a distinct browned face. Decide which texture you want more of next time. Cutting every piece the same width is useful when you want them to finish together. Leaving two planned sizes gives you a reason to remove some pieces earlier and a wider range of textures on the plate.
If the carrots stayed hard under browned surfaces, split the thickest pieces sooner next time or move the pan away from strong heat once the color appears. If the tray stayed pale and wet, check whether the carrots went in damp or touched one another across the center. Make one change and repeat the same finish. The cumin and lemon are easy to adjust after cooking. The soft center and dry browned face are the parts that need time in the oven.