Picture the spot before making the sandwiches
A picnic on a bench calls for a different lunch from a meal around a table with room for four plates. Decide how much room you will have to open containers and whether you can set a cutting board down safely. A sandwich that is easy to eat standing up can be packed already divided. A salad dressed at the table is more practical when the lid has somewhere to go. If the spot is uncertain, choose containers you can open and close with little effort and foods that can be eaten in their own wrapper or bowl.
Count who is coming and when they expect to eat. Put the shortest, simplest meal together first. For a small group, one main item, a crisp side, and a piece of fruit can be enough. Add another item only when it answers a need, such as giving someone a suitable option or filling a long gap before the next meal. A crowded cooler makes it harder to reach the things you actually need. Make sure there is room for enough cold packs to keep perishable items cold.
Think about the way the meal will travel. A short walk with the cooler level is forgiving. A bike ride or a bus trip may tip it on its side. Pack liquids in containers you know close securely and keep them separate from bread or paper. Check the seals at home. A little dressing spilled onto the counter is easier to clean than one that gets into the bag with everything else.
Make the part that can be prepared ahead
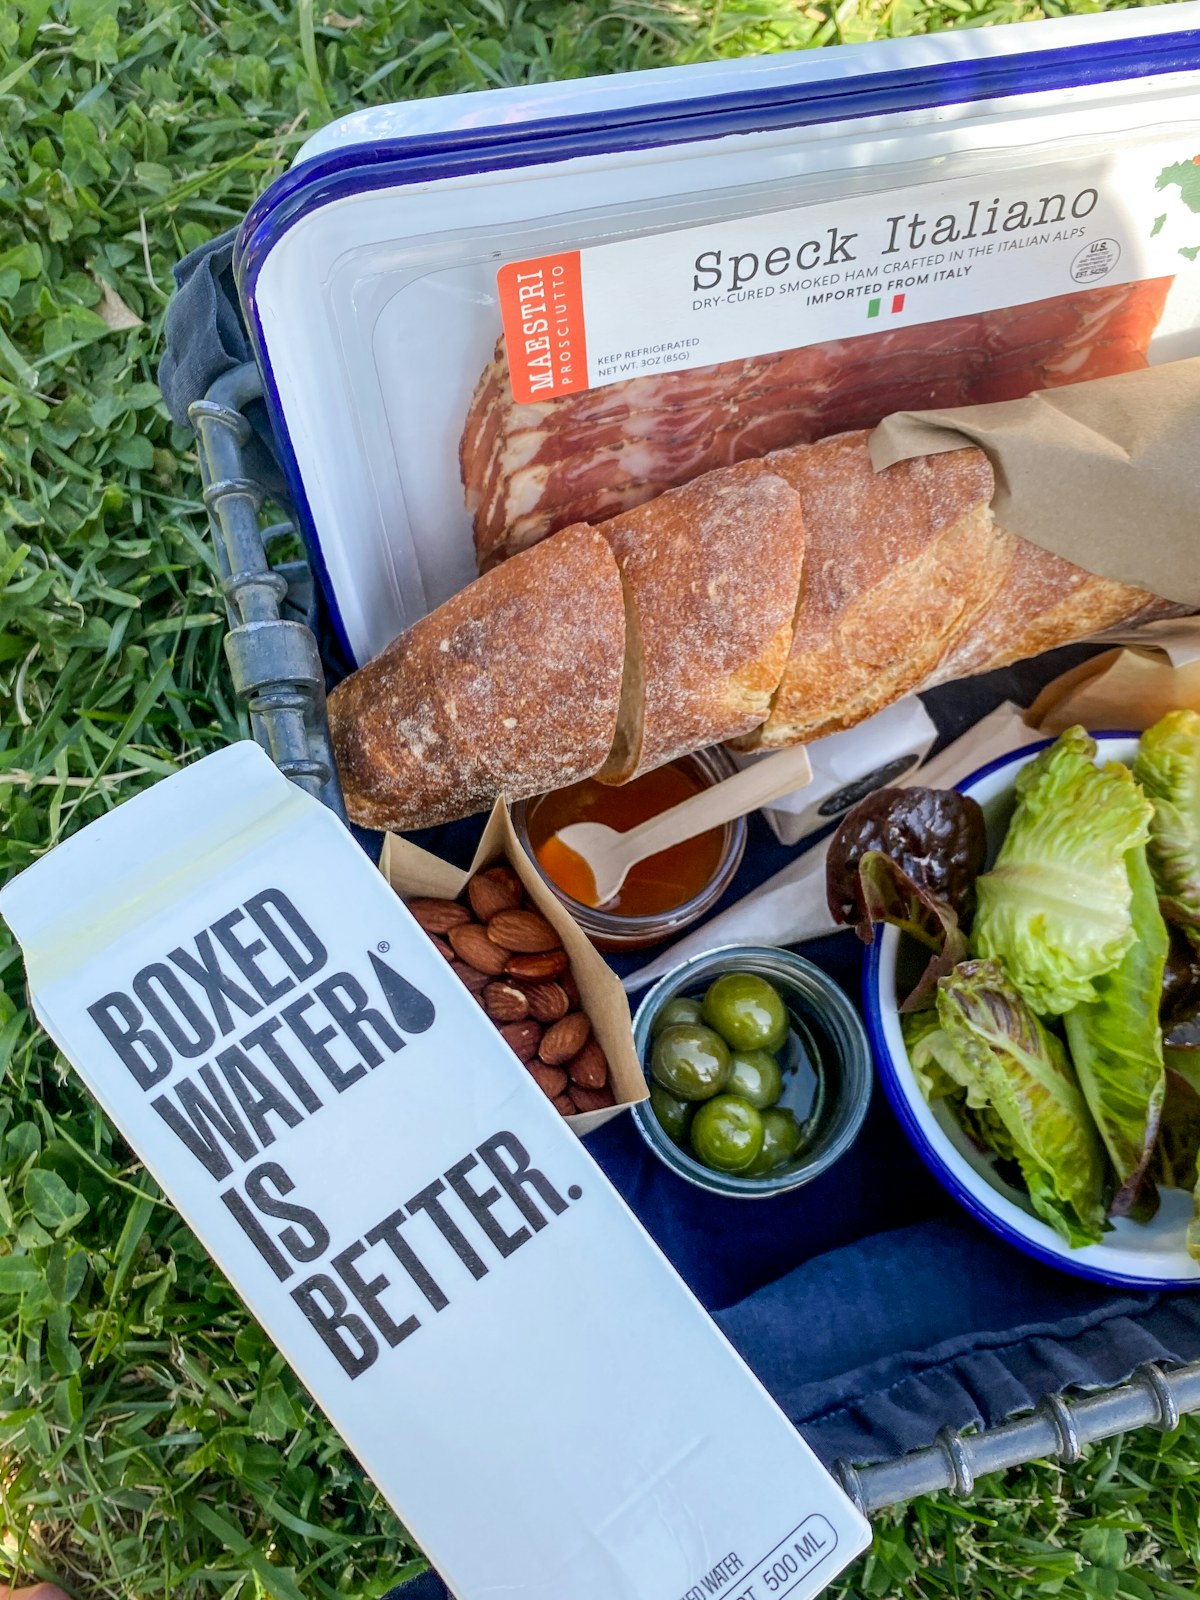
Choose bread that can hold the planned filling. A soft roll is easy to grip and can fold around a simple filling. A thick slice of good bread gives a flat surface, but it may break if you try to bend it around a bulky stack. Decide how you will eat it. If it needs both hands and a plate, bring the plate. If you want it easy to hold in one hand, keep the filling lower and cut it to fit the bread.
A wet filling and a crisp crust are best brought together late. Put sliced tomatoes or another juicy item in its own chilled container when feasible, and pack only the portion you expect to use. Drain it before placing it on the bread. A thick spread can help hold several pieces in place. Use just enough to cover the surface. If the sandwich will be assembled at home, keep the wettest ingredients away from the bread by placing them between firmer ingredients, provided the combination fits and can still be kept safely chilled.
Cut the sandwich before wrapping if the bread is firm and you want two portions that can be picked up separately. A serrated knife and a light hand can prevent a tall sandwich from sliding. Wrap each portion so the seam opens where you will hold it. A flat wrap can be folded around the bottom half as you eat. Put names or ingredient notes on the outside if people have different fillings, and account for allergies with separate preparation and packing as needed.
Give the salad a separate place to stay crisp
Choose a salad that suits the time it will spend in the bag. Thin lettuce leaves are better kept dry until serving. A salad built around sturdy vegetables can stand a little contact with dressing if it has been prepared and stored safely. Dry the vegetables after washing and put them into a container with room to toss. A container packed to the lid forces you to move the salad somewhere else before you can mix it.
Put dressing in a separate small leakproof jar or bottle. Measure roughly how much you need rather than taking a large bottle. Leave a little headroom so you can shake it before serving. If it contains perishable ingredients, keep it cold with the rest. A small jar can be packed upright and set apart from any paper wrappers. If the meal will be eaten in the car or on a bench, choose a container shallow enough to eat from once the dressing goes in.
Add a dry topping separately if it matters to the plate. Bread crumbs, crackers, or toasted seeds can lose their crunch after a damp afternoon. Pack a small amount and sprinkle it at the last moment. If any guest needs to avoid an ingredient, use separate labeled containers and serving utensils and avoid sharing the topping. A small side can stay simple when every ingredient has a clear place and you can see which container belongs to whom.
Keep the cooler cold while it is in use
Chill perishable food before packing it, and use an insulated cooler with enough ice or frozen packs to keep it at or below 40°F or about 4°C, following USDA guidance. Put the cooler in shade if possible and open it only when you need food. Drinks can go in a separate cooler if people will open that one frequently. If you are only bringing a single bag, pack drinks where they can be reached without moving the chilled meal.
Use an appliance thermometer or another suitable cooler thermometer to check the temperature if you are unsure the food will stay cold. An ice pack that still feels cool is not a reliable measure of the entire bag. Keep the time food spends above safe refrigeration limits short. USDA advises discarding perishable food left out for more than two hours, or one hour when the air temperature is above 90°F or about 32°C. Local guidance may differ. Put away the portions you are saving while you eat the first round, and set out only as much as people are ready to take.
Pack foods that do not need refrigeration if there is no dependable way to keep the cooler cold. Use whole fruit that suits the trip, suitable crackers or bread, and commercially packaged shelf-stable items according to their labels. A meal can be simple and still have enough variety. Put the ingredients together as you eat, and check the storage instructions after opening any package rather than assuming that it stays shelf-stable.
Unpack in the order people will eat
Begin by finding a clean place to work and cleaning hands. Set out the wrappers or bowls and keep the cooler closed while you choose what to serve first. If you packed sandwiches separately from the wet fillings, set out only the portions being eaten. Put the first sandwiches together and let people begin while you toss the salad. This gives the vegetables less time to sit in their dressing and keeps the table from filling with spare lids.
Cut whole fruit on a clean surface if you need to share it, or choose fruit that can be served intact. Give used utensils a separate place so they do not end up back in the food. A small clean bag for scraps and wrappers helps when the picnic spot has no bins nearby. Put the food you are keeping safely back into the cooler promptly. A single open container can make it harder to see what has stayed cold and what has been sitting out.
Check the meal after the first bite. If the bread has gone soft, keep the next round separate longer. If a salad tastes flat, add a little dressing to one corner before pouring the rest over. If the group wanted more fruit than sandwiches, pack a smaller main portion next time. Those observations are useful because they came from eating at the actual spot, with the table, weather, and time you really had.
Save a packing order for the next outing
Make a short list in the order you need things when you arrive. Put the items required first near the top while keeping perishable food surrounded by adequate cold packs. Put the kit for serving and cleanup in a side pocket. The list can be only five entries: cold food, bread, salad dressing, utensils, and a bag for waste. Add any item that mattered on this trip, such as a board or a spoon for a spread.
When you get home, empty the cooler, clean it according to its instructions, and let it dry before storing it. Decide which leftovers can be kept based on how they were handled and the temperature they maintained. If you cannot tell how long a perishable item was out of safe refrigeration, discard it. Next time, plan for the place you will sit and the amount you will eat first. A good picnic is a meal whose food arrives in the condition you wanted and whose containers leave you room to enjoy it.
If you will use the same spot again, make a note of the shade, the available table space, and how far you had to carry the cooler. Those details can change how much you pack. A separate container for each person works well when there is no clean shared surface. A larger bowl can be more convenient when there is a full table. Match the packing arrangement to the next outing, even if you keep the same menu.
If the table was windy, give empty wrappers and light lids a container of their own so they stay off the ground while people finish eating. Put that container back in the serving kit for the next trip.