Begin with a mug you will actually finish
It is tempting to judge a pour-over by whether the stream looked smooth or the bed finished flat. Those details can help you reproduce the process, but the question begins with the mug. Taste the coffee as you normally drink it. If it seems too weak, too sharp, or drying at the end, write that down before changing anything. A useful adjustment is one that changes the taste you wanted to change.
Choose one coffee and use it for two brews. A bag that gives preparation guidance makes a good starting point. Note the roast date if it is available, but keep the comparison focused on using the same coffee under similar conditions. Use one brewer, the same kind of paper filter, water from the same supply, and a mug that can hold the result safely. If your brewer has its own instructions for placement and water, use them. A stable setup is easier to repeat than one with a dripper balanced on the wrong cup.
For a modest serving, 15 grams of ground coffee and about 240 grams of water are a useful trial if that fits the brewer. Use the brewer or coffee maker's guidance if it suggests a different starting ratio. The scale can show how much water has gone in without measuring a succession of little pours. Check that the scale sits flat and that the cup and brewer together are within its rated capacity. Keep the hot kettle where it cannot bump the setup.
Make the first brew as repeatable as you can
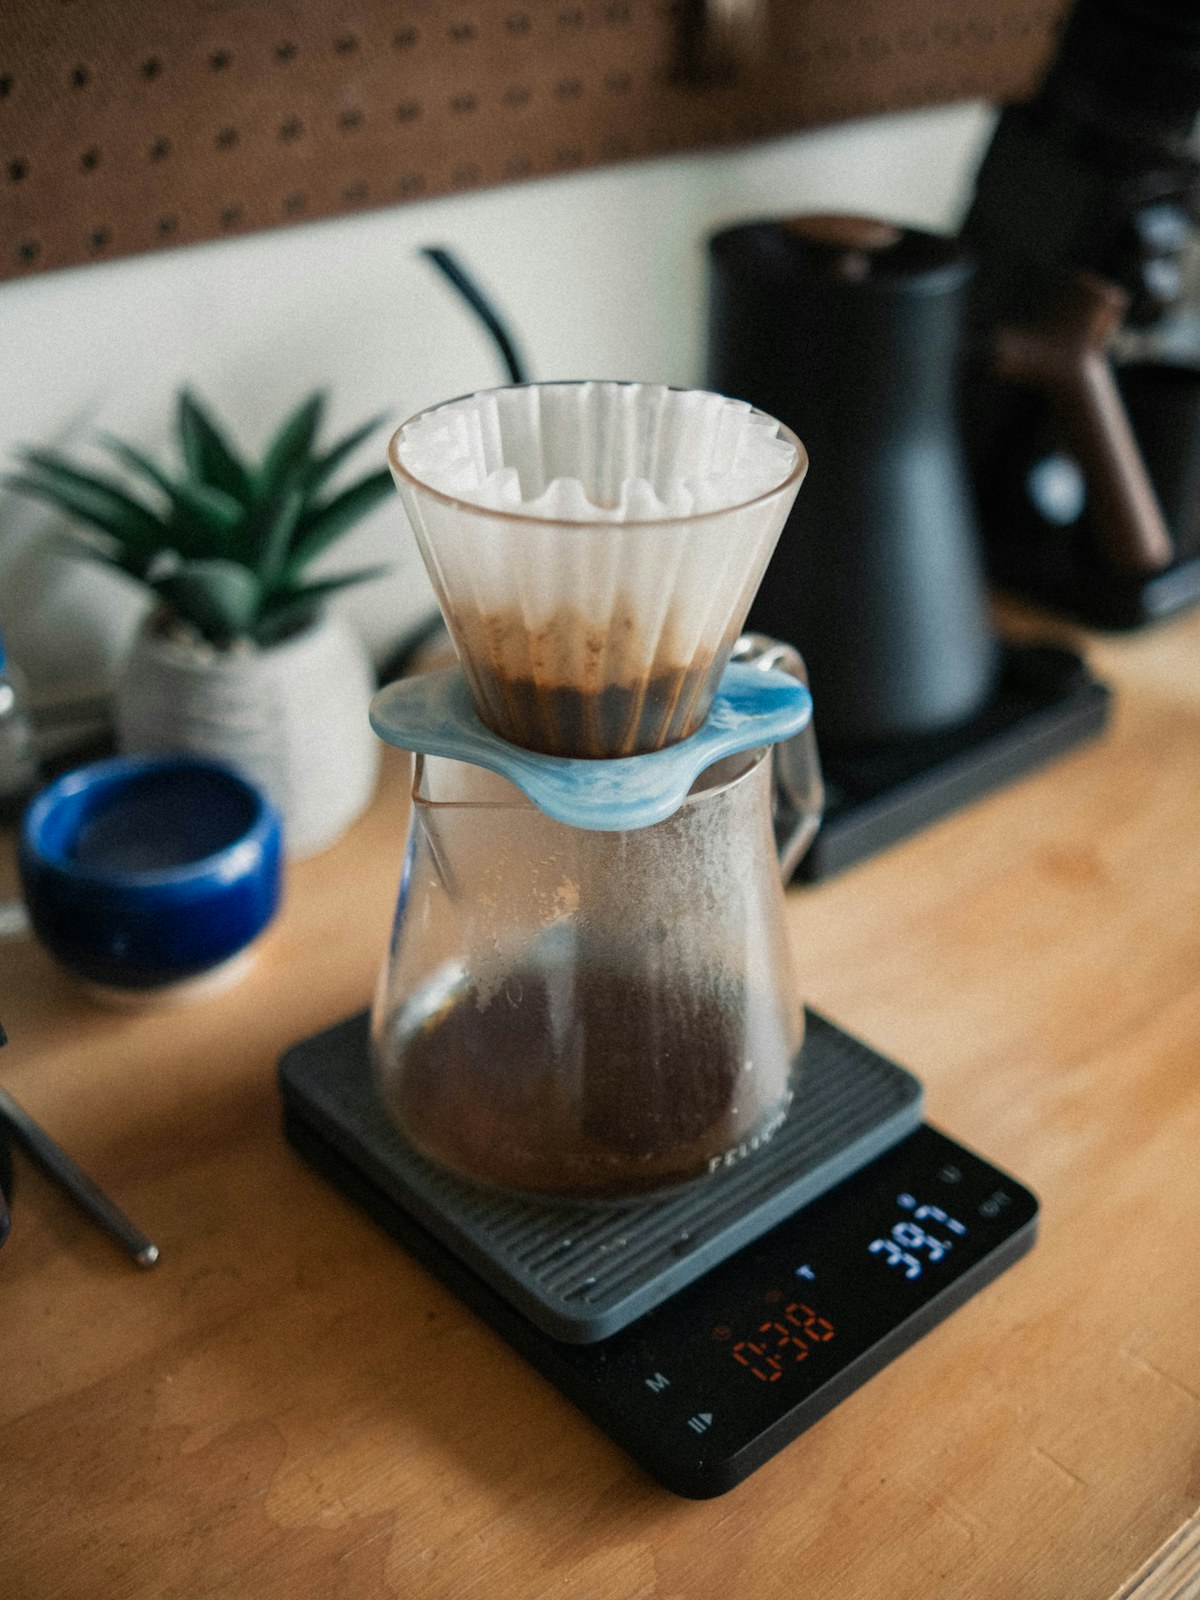
Put the filter in place and rinse it if the brewer calls for that. Empty the rinse water before measuring the brew. Set the brewer and cup on the scale, then zero it. Add the ground coffee and note the amount. A gentle shake can level the surface enough to show where you have poured. There is no need to compress the bed with a spoon. Set the kettle and timer within reach before you start.
Heat water according to the coffee or brewer's guidance. Add enough at first to wet the grounds and begin the timer. If some dry patches remain, direct a narrow stream at them without flooding the outside edge. Let the coffee settle briefly if the method calls for a bloom. Use the same interval for both trials. Fresh coffee may release more visible bubbles than coffee that has been open longer. Record what you see without using bubble size as the only test of whether a cup will taste good.
Add the remaining water in a few steady pours. Keep enough space below the top of the brewer for the water to drain safely. When you add a second portion, aim for a similar movement around the grounds and avoid pouring heavily against the paper. Watch the scale to reach the target amount. Let the brewer drain according to its instructions, then remove it and stir the coffee gently so the first and last liquid are mixed before tasting.
If the filter drains so slowly that the brewer remains full, pause the pour rather than adding water above the safe fill level. Remove the kettle from the immediate area and let the brew settle. A partly clogged filter can come from very fine grounds or from the way the filter was seated. Let it finish safely and inspect the paper after cooling. Reseat the filter or move one grinder step coarser for another trial, keeping the other change for a separate brew.
Taste after the first heat has passed
Let the coffee cool enough to sip comfortably. Taste the middle of the mug, not only a few drops that cooled at the rim. Take a sip and notice what comes first. A thin coffee can still smell strong. A sharp coffee can have enough body but finish before any sweetness appears. A heavy cup can feel pleasant at first and leave a dry sensation afterward. Put those observations in words you will recognize later.
Taste again when the mug is cooler. Some flavors become easier to notice as heat falls. If the first sip was very hot, do not decide on a grind change yet. A coffee that seemed one-dimensional can reveal a softer or sweeter taste after a few minutes. If the problem is still there as it cools, choose the single adjustment most likely to address it. The goal of the second brew is to make the difference clear rather than to fix every feature at once.
Try the cup plain before adding milk or another finish if you are comfortable doing so. Then add what you usually add and taste again. A cup that seems balanced plain might be too quiet after milk. If you usually drink it that way, use the milk in both comparisons and write down how much you added. The result should fit the way you make coffee on an ordinary morning.
Change the grind or the ratio according to the taste
If a cup tastes weak but pleasant, try using a little less water with the same amount of coffee on the next brew. Keep the grind and movement the same. Stop the pour at the new weight and see whether the cup has the strength you wanted. If the coffee already tastes strongly sour or dry, simply concentrating the same brew may emphasize the problem. In that case, changing the grind by a small step can be a clearer test.
A slightly finer grind often slows the flow and exposes more surface to water, but the brewer and grinder also matter. Use one small step rather than jumping several settings. Brew with the same ratio and pour pattern and observe whether the drink tastes fuller or harsher. If it takes much longer to drain and the taste has become drying, you may have gone too fine for that setup. Try a slightly coarser setting on the next brew or return to the first setting and look at whether the pouring motion changed.
Record the total time as a clue, not a verdict. A cup that drains quickly can still taste good. A cup that fits a suggested time can still be unpleasant with your coffee. If the flavor improves, note the grind and approximate drainage time together. That gives you a way to repeat the useful part without pretending that the time alone produced the result.
If the coffee tastes stronger than you want but you otherwise enjoy it, add a little hot water directly to the finished cup and taste again. This is a quick way to test a lower strength without putting more water through the grounds. If it helps, the next brew can use the same preparation with a little extra water added afterward. If it leaves the unpleasant flavor intact, change the extraction in a later brew rather than continuing to dilute that cup.
Keep the second comparison fair
Use a clean cup and filter for the second brew. Rinse in the same way if you rinsed before. Check the dose and water weight rather than assuming a scoop will hold the same amount after the grind changes. Keep the kettle at the same stage of heating. If you compare a shorter brew made with recently boiled water to a longer one after the kettle has cooled, you have changed another detail without intending to.
Taste the cups side by side if you made them close together. Let both reach a similar temperature. Sip in one order, then the other, and take a sip of plain water between them if needed. If you cannot make both at once, write your notes before moving to the second brew and compare the same point in the cup's cooling. The result can be modest. A slightly cleaner finish is a useful difference if it improves the coffee you make each day.
When two brews taste equally good, choose the one that is easier to repeat. It may use a grinder setting that is easier to remember or a water amount that fits your usual mug. The scale is there to make the morning process simpler, not to add a new task after every pour. Once you know a good target weight, you can pour toward it without needing to record every intermediate reading.
A second taster can compare two small portions without knowing which was brewed first. Ask them to describe the finish before saying which they prefer.
Keep a note short enough to use tomorrow
Write the coffee name, the amount of grounds and water, the grinder setting, and one sentence about the taste. Include any important difference, such as making fewer pours or using a different filter. Store the note where you keep the coffee. The useful version might be only two lines. You can add details when a change is worth repeating and leave out the observations that did not affect the cup.
If a new bag tastes different at the old settings, start from the version you liked and adjust a single detail again. The same cup and scale can give you a known starting point even when the coffee changes. Taste while it cools, decide which quality you want more of, and use the next brew to test that choice.