Choose bread that can take a short soak
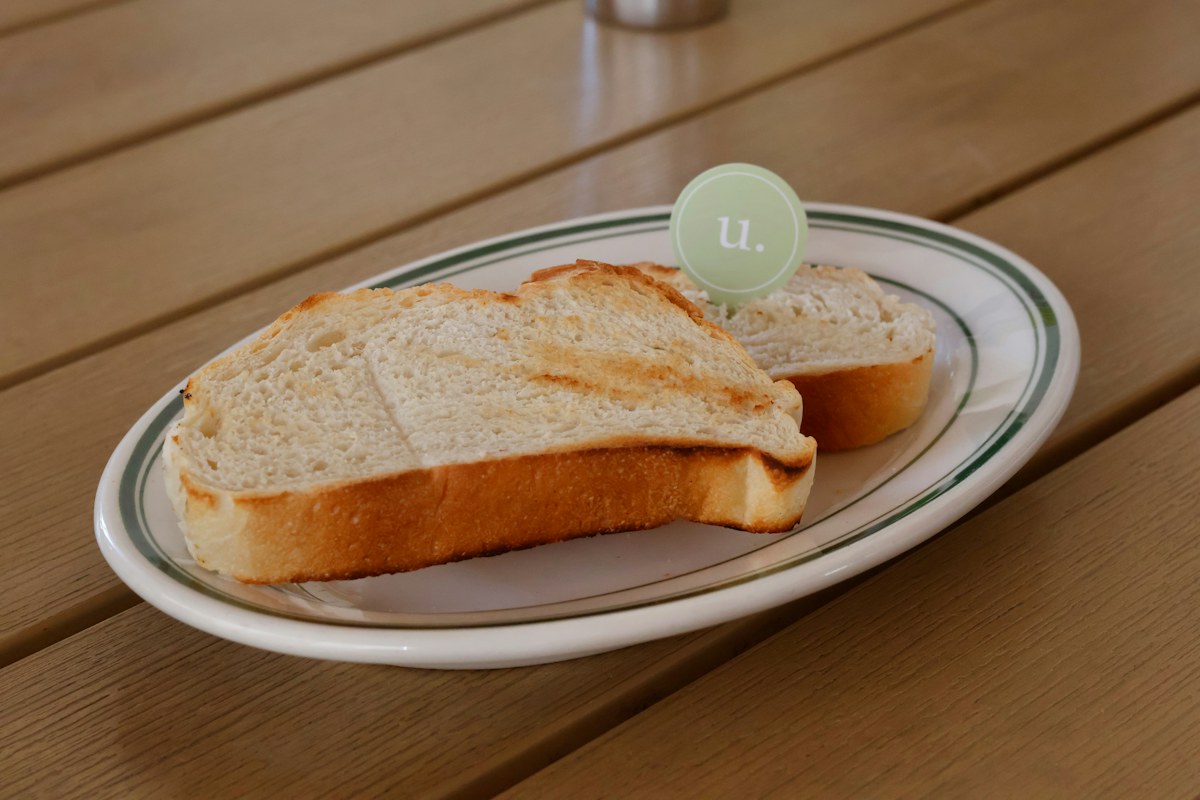
French toast begins with what happens inside a slice of bread. A thin piece can take in egg mixture almost immediately. A very thick piece can look coated while the center stays dry, or become so wet that it takes a long time to cook through. Start with a few moderately thick slices from a sturdy loaf. A soft sandwich bread, a lightly enriched loaf, or a country loaf with a fine enough crumb can all work. Look for slices that lie flat and have enough structure to be lifted once wet.
For two portions, use four slices of bread, two large eggs, about half a cup of milk, a small pinch of fine salt, and a little butter or another suitable cooking fat. A small amount of cinnamon or vanilla is optional. If the bread already tastes sweet, keep the egg mixture unsweetened at first. Sugar on the surface can darken before the center finishes cooking. Put a little sweet topping on the plate if you still want it after tasting the first piece.
Set out a shallow dish for dipping, a clean plate for finished toast, and a skillet with room to turn a slice. Do not put the cooked pieces on the plate that held raw egg mixture. Have a broad spatula and an instant-read thermometer ready if you can check the center. Start with one slice, even if the pan can hold two. The first slice tells you how much egg mixture the bread will take and how quickly the surface will color.
Mix the eggs until a dipped slice looks even
Break the eggs into the shallow dish and whisk them with the milk and salt. Move the fork through the thicker areas until there are no obvious strings of white. Add cinnamon or vanilla now if you want it. Ground spice can float on the surface, so stir again just before dipping each slice. You are looking for a coating that looks similar on both sides, rather than a layer with a dark patch where all the spice landed.
Put the first slice in the dish and give one side a brief moment to absorb liquid. Turn it and check the first face. If it looks wet but the slice still lifts in one piece, try the second side for a similar time. A dry or dense slice may take a little longer. If the middle bends heavily when you lift it, cut the soak short for the next one. Let excess mixture drip back into the dish before moving the slice toward the pan.
Use clean hands or a suitable utensil to handle the raw mixture and wash anything that touched it before using it on the cooked toast. Dip the slices as you cook them rather than leaving several in the bowl while the pan is still warming. A queue of soaking bread will keep taking up liquid while you prepare the rest. If you want a slice to have more custard in the center, increase the time on one test piece rather than putting the entire batch in at once.
If you want to check absorption before cooking, split one spare slice from the same loaf and look at its crumb. A coarse open crumb can hold pockets of mixture while a fine crumb takes it up more evenly. Dip an end piece briefly and see how much it weighs in your hand compared with a dry slice. That can help you judge whether the next one needs a shorter soak before it has already gone into the skillet.
Start on moderate heat and check the underside early
Warm the skillet over medium to medium-low heat as appropriate for its surface. Melt a little butter or add a thin film of suitable oil. The butter can foam lightly, but it should not darken heavily before the bread arrives. Lift the first dipped piece to the skillet and set it flat. A quiet cooking sound is enough. A very strong sizzle can mean the base will color before heat reaches the wet center.
Leave the slice until it can be lifted without tearing, then look at the underside. A light golden color is a useful point to turn. If you find a dark patch and the slice still feels cool or wet in the middle, turn down the heat and move it away from the hottest spot. The second side may need more time at the lower setting. Lift with the spatula close to the base and turn the piece low over the pan so it stays together.
If the slice colors unevenly, check whether the bread lies flat. A raised corner may not touch enough fat or heat. Press gently near that corner for a moment if needed, rather than flattening the whole slice. A little more fat at a dry edge can help when the pan has already lost its even coating. Use just enough to restore contact. Excess fat can collect at one side while the middle continues to need time.
Give the middle time to cook through
Once both sides have color, look at the center from the side and check the internal temperature with a suitable thermometer. For egg dishes, FoodSafety.gov lists 160°F or 71°C as the safe minimum internal temperature. Insert the thermometer so it measures the middle rather than touching the hot skillet. If the crust is ready before the center is safely cooked, lower the heat and continue gently. A short interval under a lid can help the center warm, but lift the lid away so condensation does not run directly onto the toast.
The aim is a cooked center that is tender rather than wet. If the crust softens while covered, finish briefly with the lid off once the inside is ready. Move the slice to a clean plate or a rack for a moment if you want the underside to release steam. Do not rely on color alone. A pale bread can turn brown quickly in butter, and a rich egg mixture may look cooked at the edge while the deeper part still needs time.
If the first piece feels dry after it is cooked, give the next slice a little more time in the mixture or use bread with a slightly softer crumb. If the piece is too wet or takes too long to finish, use a shorter dip or slightly thinner bread. Keep the skillet at a heat the center can use. Changing the amount of heat and the amount of soaking at once can make it difficult to tell which was the problem.
Set up the second slice before adding toppings
Look at the skillet after the first slice comes out. Wipe out any burnt crumbs once it is safe to do so, and restore a thin film of fat if needed. The pan may be hotter than when you began. Give it a short break off direct heat if the butter browns immediately. Set the second slice down when you hear the same gentle sound you were able to hold through the first cook.
If two slices will fit with room to turn, dip them separately and put the first where you can reach it. Turn the one that went in first after checking its underside. A pan can have a hot side and a cooler side, so exchange positions once if one is coloring much faster. Keep the finished slices separate from the raw dipping dish. Discard unused raw egg mixture after the batch, rather than using it as a sauce.
Taste a piece plain before adding a topping. A ripe fruit or a small spoonful of yogurt can supply sweetness or coolness without soaking the toast. Put syrup on one part of the slice and see how the crust changes as you eat. A thin line can be enough when the bread itself is rich. If you want a savory breakfast, leave cinnamon out of the dip and serve the cooked toast with a small pile of well-drained vegetables.
If the first serving is going to be cut into strips for easier eating, let it stand for a short moment and then use a clean sharp knife. A lightly set crust cuts more cleanly than one that is still steaming hard. Put the topping beside the strips instead of across all the cut sides. Each person can choose which piece to dip.
Keep the difference between the crust and the center
Bring the slices to the table while the surfaces are still dry. If they have to wait for a brief time, use an arrangement that lets steam escape and keeps the food at a suitable temperature. A tight stack can make every face soft before the second person sits down. Keep cool toppings separate until serving and use fresh utensils.
Write down the bread, slice thickness, and approximate dip time that gave you a useful result. Note whether the pan needed a lower setting after the first turn. The next loaf may take a little less or more liquid. Start with a single piece again if the bread changes. Once you can see how fast the first face colors and check the center properly, you can give each slice enough time without making the crust do more work than it needs.