Choose a cut based on where the onion is going
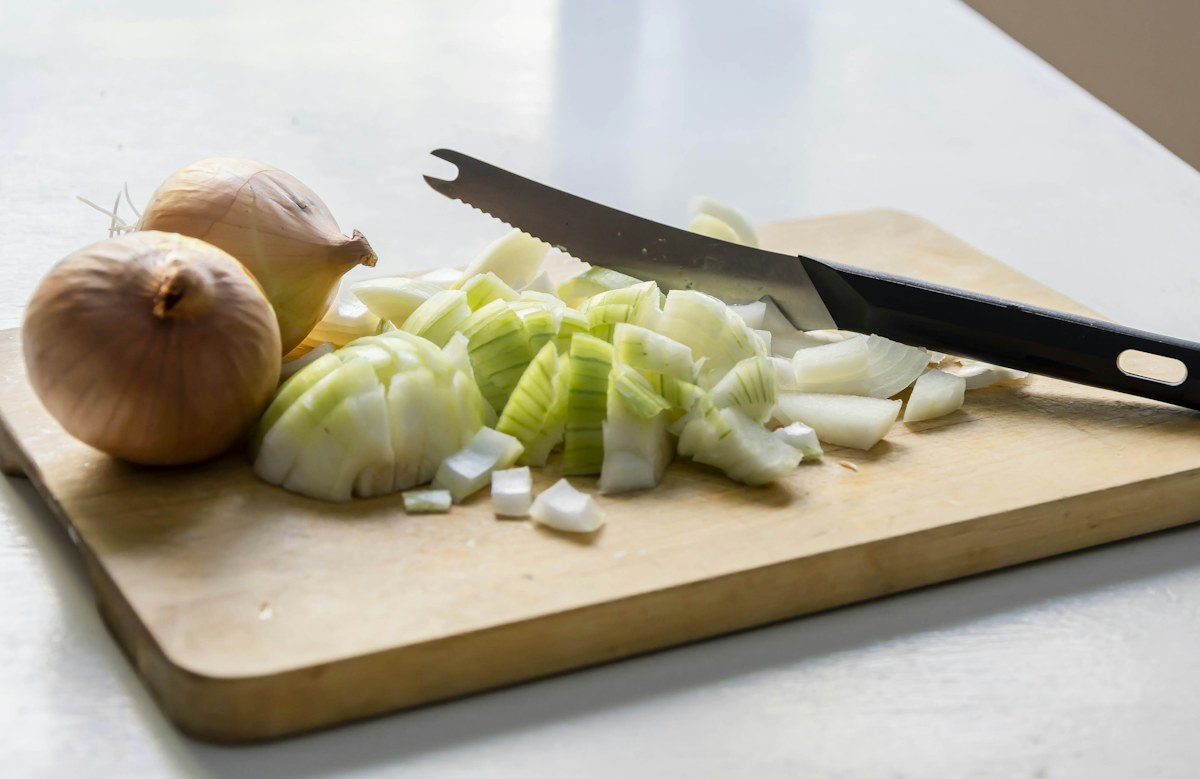
An onion can be part of a dish without being visible, or it can be the main thing you notice on a sandwich. The cut makes a difference before the pan gets hot. Fine dice spread easily through a sauce and soften quickly. Slices stay recognizable and hold a soft, tangled shape after a long spell in a skillet. Decide how much texture you want and keep most of the pieces similar in size. A few fragments from the ends will usually cook faster and can be moved toward the cooler part of the pan.
For long slices, cut a yellow onion in half from root to tip and peel each half. Set one half flat on a steady board and trim the ends. Slice from the root end toward the tip or cut across the layers to make half rings. End-to-end slices tend to stay more defined. Half rings soften into curved ribbons and are easy to pile on toast. If a half onion feels hard to hold near the end, turn the last piece flat and cut from the wider side.
For a comparison, use two medium onions and a broad skillet. Cut both in the same way so you can see what changes over time. Set a little olive oil or neutral cooking oil by the stove, plus a pinch of fine salt and a cup of water to use by the spoonful. Put three small plates nearby. You can remove a sample at each stage and taste all three together when they are cool enough.
Soften a first portion for soups and sauces
Warm the skillet over medium heat and add enough oil to coat it lightly. Scatter in the onions and stir to cover them with the oil. Add a small pinch of salt. If the pan is broad, arrange the pieces in a loose layer. They can overlap while softening. They should make a gentle cooking sound without taking on dark edges in the first minute or two. Reduce the heat if the smallest pieces begin to color immediately.
Stir from time to time and look at how the pieces bend. The sharp smell of raw onion will mellow. The white interior will begin to look translucent around the edges. The slices should be pliable enough to fold over the spoon. If the surface of the skillet becomes dry before the pieces soften, add a spoonful of water and lower the heat. The little amount of water will evaporate while helping the onions cook more evenly.
Remove a small portion when the onions are translucent and tender, with little or no browning. This stage works well as a base for a soup with a pale broth, a mild bean dish, or a pan of vegetables that will cook much longer. A finely diced onion at this stage almost disappears into tomato sauce. A slice still has a shape but a much softer flavor. Taste a piece and notice that the onion is apparent even without the sweetness of a dark finish.
Cook the second portion to a visible gold
Leave the rest in the skillet and let the remaining moisture cook away. Move the slices around occasionally so more surfaces make contact. The first browned patches may appear underneath a clump or on the thinner ends. Turn those pieces through the paler ones and check the rest of the pan. If one part is coloring noticeably faster, slide the skillet a little on the burner if it can sit safely there, or swap pieces between the darker and paler areas.
Look for a light gold that runs through much of the batch rather than a few scorched points. A moderate pan and patient stirring help the color spread. Taste a slice when it first looks uniformly golden. It should have more sweetness than the pale sample and a little toasted flavor. Remove a second portion and spread it out on its plate. The golden stage is useful in a folded omelet, a filling for a sandwich, or a grain dish where you want onions to remain recognizable.
If the pan has brown marks that begin to stick, add a small spoonful of water and lift the marks with a wooden spoon. Watch the color of those marks before doing so. Chestnut-colored patches can contribute flavor. Black patches can make the batch taste burnt. Move the onions away from any scorched area and continue in the cleaner part of the pan. Adjust the heat before you add more time.
Let the last portion deepen slowly
Reduce the heat if the onions are already coloring quickly. The deeply browned stage takes time because the pieces become much smaller as they lose water. Gather the slices into a loose layer where you can see them. Stir more frequently once most pieces are amber, especially around the edges. If you have taken two samples out, the remaining portion will cook faster than a full skillet. Stay with the pan rather than relying on a fixed amount of time.
Add a spoonful of water when browned patches accumulate and the pan is dry enough to catch. Stir and let the water go before repeating. This can help distribute the color and gives the onions another stretch on the heat. It should be a small adjustment. If there is enough water to cover the pieces, they will soften without gaining more color until it evaporates. Taste as the darkening continues. Stop when the onions have a deep amber color, taste sweet and savory, and feel soft enough to spread with the spoon.
Move the finished onions off the skillet promptly. A heavy pan will retain enough heat to take the outer pieces farther even if the burner is off. Lift them onto the third plate and compare the quantity with what you began with. The darkest pile may look surprisingly small. That is one reason to plan a larger batch when the onions are meant to fill a tart or go across several sandwiches.
Compare the stages with simple food
Put a small amount of each onion sample on separate pieces of plain toast. Taste the pale one first. It will generally have the clearest onion shape and a milder version of the original flavor. The golden one may feel soft with a more obvious toasted edge. The dark one should spread more easily and taste strongest even if the piece on the toast is smaller. Taste again with a little salt if all three seem quiet. Seasoning can reveal the differences that are easy to miss when the pieces are hot.
Try the golden sample with a bite of a mild cheese if you have one. It can give a sandwich a pleasant sweetness without becoming its main flavor. A deeply browned onion stands out against a stronger cheese or a tart vegetable. A pale onion can help a soup taste rounder while leaving room for the main ingredient. Think about what you want the next dish to taste like, and stop cooking the onions when they begin to fit that description.
If the dark sample tastes harsh, work out whether the flavor came from the browned onion or from a single burnt fragment. Taste a piece from the center of the pile. The next batch may only need a lower setting as the color develops. If all the samples taste flat, check the salt and make sure the slices were allowed enough contact with the pan. A widely spread batch that is stirred constantly may soften evenly but take longer to brown.
You can also test each stage by adding a spoonful to a separate cup of warm broth. The pale onions keep the broth clearer and give it a soft background. The golden sample can bring a toasted smell that was harder to notice on the bread. The darkest onions may darken the whole cup, especially if you stir them firmly. Use the stage you like in that small amount before scaling the flavor into a full pot. The same test works with a spoonful of plain yogurt if the onions are going into a dip. Let the onions cool before mixing them in. A little of the darkest sample will often be enough to taste in every bite.
Scale up only after you know what the pan can hold
A larger pile of onion lets off more steam. Expect the first stage to take longer or use a second pan. If you make a deep batch in one pan, stir from the bottom so every slice has a chance to soften before you wait for color. Once the onions shrink, spread them again. The upper layers will be ready to brown only after they begin touching the pan.
Keep a written note of the onion type, cut, and which dish you used each stage for. A white onion and a large yellow one can give you slightly different results even on the same stove. Time is a cue to look, and the color and texture tell you when to stop. Once you can recognize the pale, golden, and dark stages, you can choose one that fits the meal without cooking every onion all the way to the same finish.