Choose a cut that makes sense for the mushroom
A thick slice of cremini and a frilly edge of oyster mushroom behave differently in a hot skillet. The cremini slice has a broad face that can brown evenly against the metal. The thin edge of an oyster mushroom curls and crisps while the base stays substantial. Try cooking one type at a time if you want to learn the signs. Afterward, mixing two varieties becomes a choice about texture instead of an exercise in rescuing the pieces that cook faster.
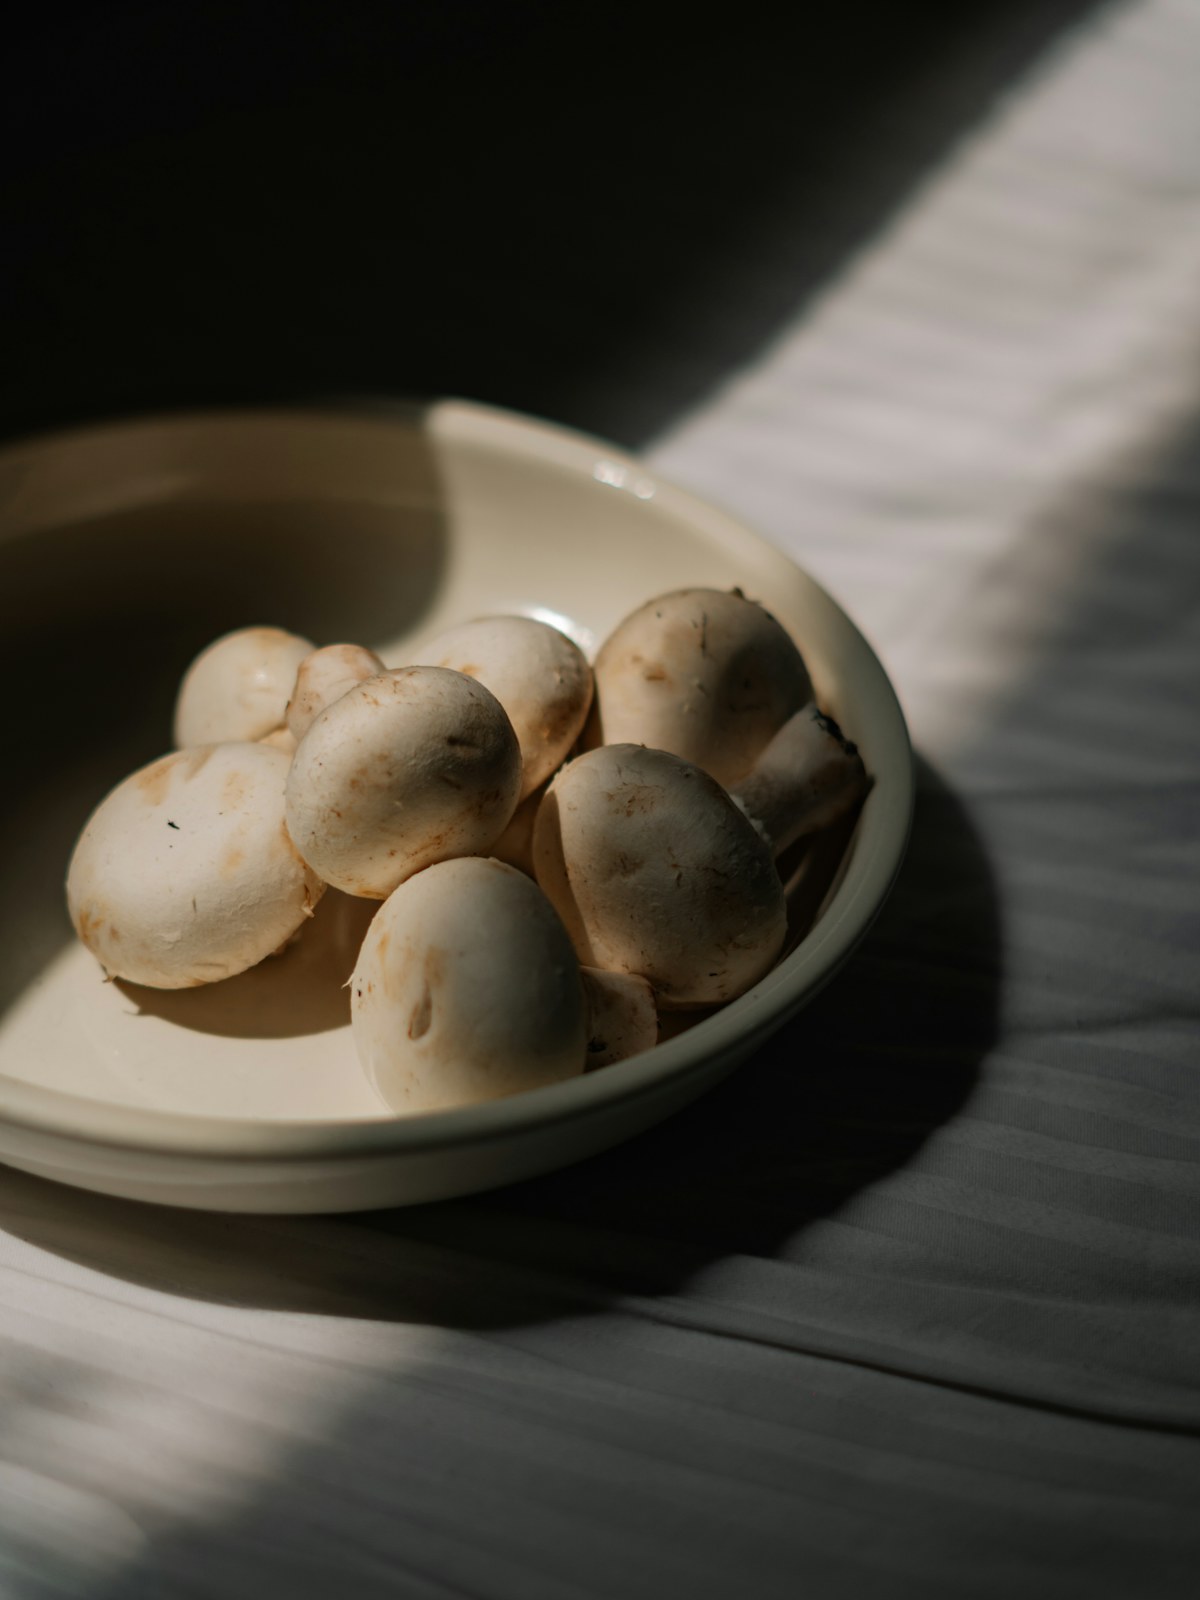
For button or cremini mushrooms, buy firm mushrooms and trim away the dry ends of the stems. If the caps are small, halve them from cap to stem. Larger mushrooms can be cut into quarters or into slices about a quarter of an inch thick. A skillet full of thin shavings loses its shape and is harder to turn. Save very thin cuts for a dish where you want them to soften into a sauce. When your plan is toast or a side dish, leave a generous amount of mushroom in each piece.
Oyster mushrooms can be torn into strips along their natural seams. Remove the base where the individual mushrooms join the cluster, especially if it feels dry and woody. The tender stem below a cap is worth keeping. Lay strips of similar width next to one another on the board so you know which handful will go in first. If you have a few large pieces, they can anchor the presentation on a plate once their edges are golden.
Clean them just before they go in
Brush away dirt with a clean towel or a soft brush. Pay attention to the base of the stems and to folds under the cap, where a bit of growing medium can be hard to see. When a towel is not enough, rinse the mushrooms briefly under running water. Shake off the drops and dry them on a clean towel. The practical question is how much moisture goes into the pan with the mushrooms. A mushroom that has been quickly rinsed and patted dry is easier to brown than one that sat in a wet colander.
If you need to cut up a large quantity, finish drying one batch before you slice the next. Water from the board can cling to the new cut faces. It is worth swapping out a damp towel halfway through. Once the pieces are ready, set them on a plate near the stove. Move the board away before you start cooking so that you have a dry landing spot for the hot pan or the bowl of cooked mushrooms.
Plan any finishing ingredients now. Chop a small clove of garlic, pull the leaves from a sprig of thyme, or cut a slice of lemon. Garlic can burn before a mushroom takes on much color. Keep it in its own pile and use it near the end. If you want to serve the mushrooms on toast, take the bread out while you still have clean hands. There is little time between adding butter at the finish and wanting a piece of toast ready.
Give the first side time on the pan
For a first trial, use about eight ounces of button or cremini mushrooms, a tablespoon of neutral cooking oil, and a little salt. Use a skillet large enough to hold the mushrooms in one layer with a few open patches. A heavy pan holds its heat well when cool mushrooms hit it. If the only skillet you have is small, use half the mushrooms at a time. Two brief rounds are easier to control than one long spell with the entire pile in the pan.
Warm the skillet over medium-high heat, add the oil, and let it spread. Use heat appropriate for the pan you own and keep within the manufacturer's instructions. When the oil moves easily and begins to shimmer, place the mushrooms in cut-side down. You should hear a steady sizzle from the first few pieces. If there is almost no sound, let the pan recover some heat before adding the rest. Leave the pieces where you put them for a few minutes.
Check one piece at the edge and one from near the center. Use a thin spatula or tongs so you can see their undersides. If the edge piece is brown and the middle one is pale, move the mushrooms through the hot parts of the pan when you turn them. Give the other faces time to color. If pieces stick, leave them briefly and try lifting again. A crust that has finished forming often releases more easily than a patch that is still getting started.
Make room for the moisture to evaporate
At some point you may see a shallow pool of liquid, particularly with juicy button mushrooms. Leave the lid off. If the pan can hold a steady simmer, let the liquid cook away and wait for the sound to change back to a sharp sizzle before judging the color. Stir only enough to keep the pieces spread and to stop any already browned corners from sitting on the hottest spot. This stage is why the room around the mushrooms matters so much.
If the liquid is deep enough to hide the pan almost everywhere, lift half the pieces out with a slotted spoon. Continue with the remaining half until the moisture has gone. If there is so much liquid that you want to reserve it, pour it carefully into a heatproof cup and use a spoonful later in the sauce. It tastes of mushrooms and can help loosen the brown bits. Put the second group back in when the pan is hot again.
Salt can go in after the pieces have started to color. Add a small pinch, toss once, and then taste a cooked piece before adding more. If you will finish with a salty ingredient, such as capers or hard cheese, keep the initial seasoning lighter. A wide cap can take a while to absorb a grain of salt dropped on its surface. Seasoning while the pan is still warm helps it distribute as the pieces are turned.
Catch the browned bits in a simple sauce
For toast, lower the heat after the mushrooms are browned. Add a small knob of butter and the thyme leaves. Let the butter melt into the skillet and toss the mushrooms through it. If you want garlic, stir in the chopped clove near the end and cook briefly until fragrant. At the first sign that the garlic is taking on too much color, remove the skillet from the heat. Residual heat in a heavy pan is enough to carry it a little further.
A spoonful of water, vegetable stock, or the reserved mushroom liquid can lift flavorful brown patches left on a metal skillet. Add it while the pan is hot, then scrape gently with a wooden spoon. Watch what is on the pan before scraping. Brown bits can taste pleasantly deep, while blackened bits often make the sauce harsh. If you have burned a patch of garlic, leave that patch where it is and spoon the mushrooms out of the pan.
Finish with black pepper and a small squeeze of lemon or a few drops of wine vinegar. Taste a mushroom before and after the acid goes in. The goal is to sharpen the butter and savory flavor while keeping the mushroom recognizable. Pile the pieces on toast, fold them into an omelet, or set them beside a bowl of white beans. A spoonful of the reduced pan juices is enough to season each serving without softening the whole plate.
For a softer finish, stir a spoonful of plain cream into the reduced liquid off the heat. Return the pan briefly to low heat if the mixture is too thin. A creamy coating suits the thicker caps especially well, and chopped parsley added on the plate restores a little freshness.
Use the finished texture to choose the next cut
If the mushrooms were flavorful but seemed too soft, try a thicker cut. Half or quarter a cremini and leave at least one broad face flat on the pan. If they had a dry, tough center, look for a thicker cut that can soften without sitting too long at very high heat. Reduce the heat a little after the first face browns. If color is all you want and the center already tastes good, stop cooking as soon as the second face has enough color.
Oyster mushrooms can produce crisp fringes that disappear quickly under sauce. Transfer them to a plate in a loose layer if you are waiting for a second batch. Serve the strips over rice or tuck them into a sandwich right before eating. For a pasta sauce, button mushrooms sliced more evenly are easier to coat. Take them out while they still have a little structure and give them time to finish with the pasta and sauce.
If you want to cook more than the pan can handle, record the amount you used for one successful batch. Next time, portion the mushrooms before heating the pan. Return all the batches to the skillet for the final butter or herbs only after their surfaces have browned separately. The last toss is quick. Most of the work happens earlier, when each piece has enough contact with the pan to develop its own color.