Start with the part that takes longest
Three vegetables can share a tray without sharing a start time. A thick piece of carrot needs time for heat to reach its center. A broccoli floret is mostly exposed edges, which can go from toasted to scorched while the carrot is still firm. Think about how the vegetables are cut and how they feel at the center. The oven temperature matters, but timing the arrival of the vegetables matters just as much.
A useful pairing for learning the method is broccoli and carrots. Split carrots lengthwise, then cut them on the diagonal into pieces about as thick as a finger. Cut broccoli into florets large enough to pick up by the stem. Where a floret has a thick stalk, split it vertically so that the cut surface can rest directly on the tray. Peel the toughest outer layer from the main broccoli stalk if you want to use it, then slice the tender inside into coins. Put those coins with the carrots so they soften before their edges darken.
If you are using small whole carrots from the market, check whether they are actually uniform. Line up the widest pieces and compare them with a cut piece from a larger carrot. Tiny carrots can stay whole, while larger ones in the bunch may need a split. The goal is a collection of pieces that finish together, even if they have different shapes.
Choose a tray for the quantity you plan to cook
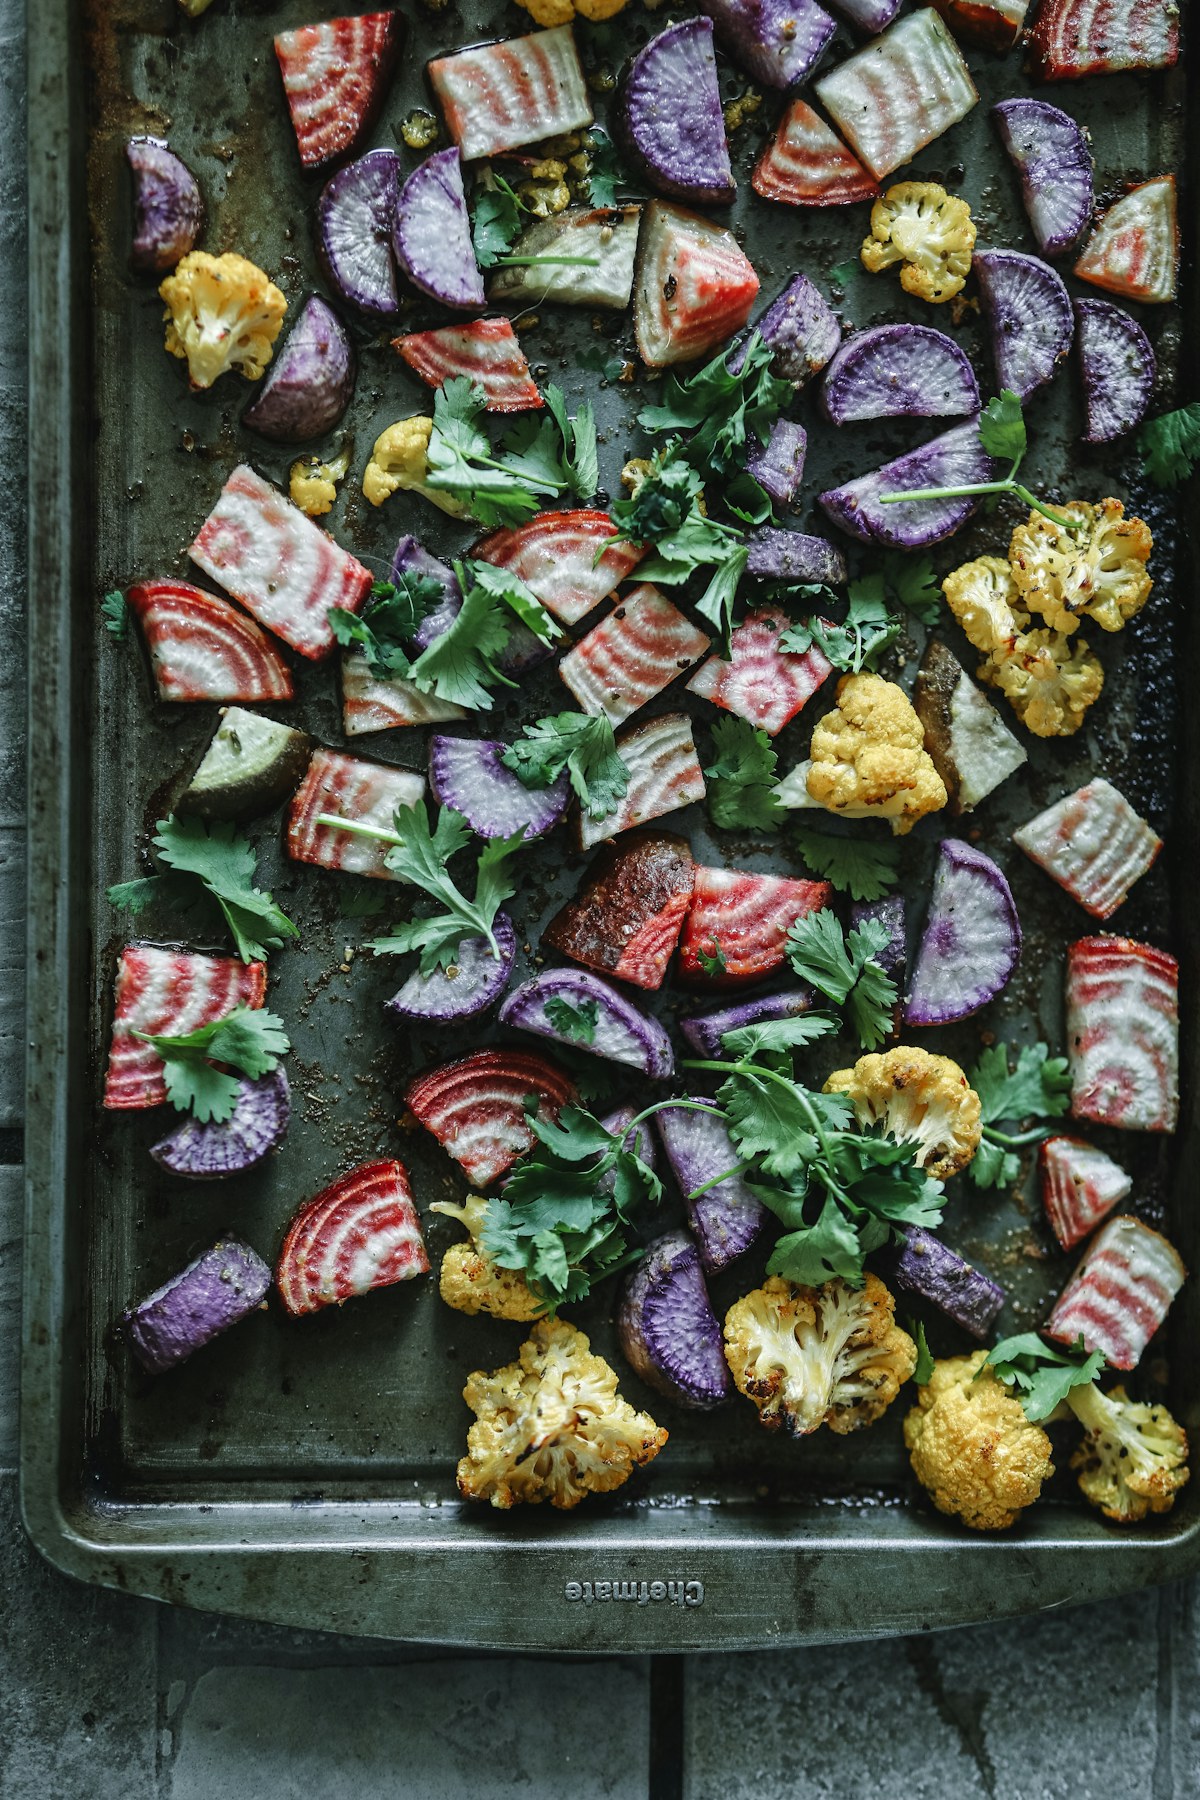
A sturdy rimmed metal baking sheet makes it easy to turn vegetables without losing them over the edge. A shallow rim still leaves most of the food exposed to hot air. A deep casserole dish works when the point is to trap juices, but its tall sides and smaller exposed surface make it harder to get the dry heat you want here. Use a tray the oven can hold with clearance around the edges so air can move.
Before you season the vegetables, scatter them across the cold sheet as a quick space check. You should see the pan in several places between the pieces. If they only fit in a complete layer with every piece touching, pull out a second tray or cook part of the batch later. An extra tray is worth the trouble when the alternative is a crowded middle that stays wet.
A light coating of oil helps the vegetables make contact with the metal and carries seasoning into the cracks. Toss the pieces in a wide bowl where you can see their surfaces. The edges should shine faintly. If a puddle runs to the side of the bowl when you tilt it, stop pouring. Broccoli catches oil in its buds, so toss that batch separately from the carrots and check the stems before adding more.
Work through a two-stage dinner tray
For a straightforward tray, use two or three medium carrots, one small head of broccoli, and one drained can of chickpeas. Have olive oil, salt, black pepper, and a lemon nearby. Heat the oven to 425°F or about 220°C with a rack in the middle. If the oven tends to run hot, position the tray farther from the upper element and begin checking a few minutes early.
Toss the carrots and any broccoli stalk coins with enough oil to coat them. Season them lightly with salt and spread them over one half of the tray with the broadest cut faces down. Give them roughly fifteen minutes alone. While they roast, drain and rinse the chickpeas, shake the colander, then tip them onto a clean kitchen towel and pat them dry. The chickpeas can go in a bowl with the broccoli after drying. Leave the skin on the beans unless one comes off as you handle it. A stray skin does no harm and can go crisp.
At the first check, slide the tray out onto a heatproof surface and lift one carrot with a thin spatula. Look for the beginning of a brown patch where the carrot touched the metal. If the carrots are still wet and pale underneath, return the tray for a few minutes before you add the broccoli. When they have started to color, loosen any pieces that cling and move them slightly to free the tray. Toss the broccoli and chickpeas with a little oil and salt, then spread them across the open half. Set the broccoli cut sides down wherever possible.
Roast until the carrot yields to the tip of a knife with a little resistance, the broccoli stems are tender, and the bud tips have brown flecks. Start looking after about twelve minutes and judge by the color and feel of the vegetables. Chickpeas will take on a drier surface and a little color. If you want them uniformly crisp, they need more space and time than this mixed tray provides. Here they give the meal a pleasantly chewy contrast to the toasted broccoli.
Read the pan before changing the temperature
When vegetables come out pale, look at where they sat. If the pieces on the perimeter are browned and the ones in the center are pale, the pan was crowded or food settled in a pile during tossing. Move a few pieces out of the middle during the next check. Spreading the food out early will have a bigger effect than turning up the oven when everything is almost cooked.
A dry, pale surface on every piece points to a different problem. The oven may still have been heating when you loaded it, or a light pan may be losing heat each time you open the door. Let the oven preheat fully before the next batch and wait until the minimum cooking time for the first look. Check the underside first, since vegetables can brown against the metal while their tops still look unremarkable.
A dark underside and a hard middle usually mean that the vegetable pieces are too thick for the heat they are getting. Turn the pieces onto a fresh side, move the tray away from the strongest element, and give the centers time. Next time, slice the thickest carrots a little thinner. If their edges are already dark, you can pull off the cooked pieces one at a time with tongs so the remaining ones finish at their own pace.
Soft broccoli and burnt loose buds can happen on the same tray. Shake off the smallest broken bits before roasting or collect them to add a few minutes later. Large florets with a broad, flat face are easier to cook evenly. Once you can see the color start to change on the tips, the next stage happens quickly. Keep the tray where you can check it without turning the entire kitchen upside down.
Use the same timing logic for other vegetables
If you replace carrots with cauliflower, start by looking at how big each piece is. A thick slice of cauliflower with a flat face takes longer to soften than a small floret, and its broad side will color nicely if you leave it in contact with the tray. Cauliflower florets roughly the size of the broccoli in the first tray can often start together. Check the thicker pieces before you take the pan out.
Red onion wedges benefit from being cut through the root end. Leave a small amount of the root end attached to hold the layers together, then trim the dry fibers away. Separate rings can finish too early and are harder to turn. A sturdy wedge can roast alongside carrots if it is reasonably thick. If you prefer onions that still have some bite, add them when you add the broccoli.
Zucchini releases a lot of water when it cooks. Cut it into broad pieces, pat cut surfaces dry, and give those pieces room of their own. Thin rounds can soften while they are still wet on top. A lengthwise slab with the widest surface touching the metal offers a better chance of browning. Add it late and lift it as soon as that side colors. A tray of zucchini and mushrooms, two vegetables that give off plenty of water, is a good candidate for two separate batches.
Finish at the table while the edges are crisp
Taste the carrot first and then the broccoli. Because their surfaces hold seasoning differently, one may need more salt than the other. Squeeze lemon over each serving just before eating. The fresh acidity lifts the sweeter flavor of the carrots and gives the chickpeas a bright edge. The rest of the tray can stay dry while you make a second plate.
To turn the tray into dinner, spoon it over cooked farro, fold it into a warm flatbread, or put it next to toast spread with hummus. Use something cool or creamy if the vegetables are strongly roasted. Plain yogurt with a pinch of salt and a little lemon zest works especially well with the broccoli. Spoon it under the vegetables or put it beside them, where it will stay cool and leave the browned surfaces exposed.
A later serving has a different texture. Treat any softened vegetables as an ingredient in their own right. A carrot and chickpea filling is good in a folded flatbread even after the crispest edges have softened. Slice larger broccoli pieces before putting them in a sandwich so they lie flat and hold their place. If you want to restore some surface crunch, a few minutes spread out in a hot oven gives the steam somewhere to go.
Write down the cut sizes and the rough moment at which the broccoli went in. That small note will tell you more on the next attempt than a precise total cooking time. A fresh bunch of carrots and a different oven can shift the schedule, but the first hint of browning under a piece of carrot is a dependable cue for loading the rest of the pan.