Choose a batch that fits the pan in one layer
A hard-cooked egg is easiest to use when the white holds together around a fully set yolk and the shell comes away in pieces large enough to see. Getting that result begins with the saucepan. Put the eggs into the pan before adding water. They should lie in one layer, with enough room to settle flat. Four to six large eggs are a reasonable starting batch in a typical small saucepan. If the last egg has to balance on top of another one, cook fewer eggs or use a wider pan. A stack changes how the shells receive heat and makes it harder to move them out without knocking them together.
Choose eggs of the same size for this batch. The size printed on the carton is a more useful guide than comparing them by eye. A large egg and an extra-large egg can look similar from the side and still need different covered rest times. Leave the eggs refrigerated until you are ready to cook. Check that the shells are clean and intact. A badly cracked egg is worth leaving out before the pan is filled. For a batch you plan to slice neatly, eggs that are still within their normal storage period but are less newly laid may peel more readily than very fresh ones. The USDA makes this distinction in its hard-cooking guide.
Have a lid that fits the pan, a timer and a way to handle the hot water before turning on the heat. A long-handled slotted spoon is useful if your saucepan is awkward to lift when full. Keep a bowl or colander near the sink so the transfer does not become a search for equipment at the moment the timer sounds. The covered stage and the cooling stage will both go more consistently when you are ready for the transition.
Bring the water just to a boil and give the eggs a covered rest
Fill the pan with cool tap water so it reaches at least an inch above the eggs, as described in the USDA method. Put the lid on and bring the water to a boil. Look for bubbles rising across the surface rather than a few collecting along the edge. Once the water just reaches a boil, turn off the heat. If the burner retains a great deal of heat, move the pan to a cool heatproof spot where it can remain level. Leave the lid in place and start the timer.
The USDA's timing for this method is twelve minutes for medium eggs, fifteen for large eggs and eighteen for extra-large eggs. Those times apply to the covered rest after the water has reached a boil. Use one egg size per batch, and give the pan enough water to hold heat during that rest. Avoid lifting the lid repeatedly to check whether the eggs look ready. Nothing you can see from the surface will tell you how set the yolk is. Leaving the lid closed keeps the cooking conditions closer to what the timing assumes.
When the timer sounds, move directly to cooling. If this is the first batch in your pan, cut into one after cooling and peeling it. The white and yolk should both be firm. The FDA recommends this as the endpoint for cooked shell eggs. Use the result to check the setup you used, including whether the pan actually reached a boil and whether the egg size matched the timing. A barely bubbling start or a loose lid can explain more than an extra minute on the timer. Give a batch the full cooking process before serving it.
Cool the eggs before working on the shells
The USDA advises cooling hard-cooked eggs promptly under cold running water. Handle the pan carefully. You can lift eggs out with the slotted spoon into a colander at the sink if the pan is heavy. Set the colander down securely and run cold potable water over the eggs. Turn them gently once or twice so every shell gets cold water. If you use a clean bowl of ice water, have it ready before the eggs finish and keep the bowl away from surfaces that were used for raw egg. Cool the eggs promptly and refrigerate them when you are saving them for later.
A grey-green ring around an otherwise firm yolk can come from the egg heating for too long or too intensely. The USDA explains that sulfur and iron compounds react at the yolk's surface. The ring itself is safe to eat. It does not tell you how long the egg has been at room temperature. If the batch has been handled and stored properly, the color is mainly an appearance cue. For the next batch, check that you turned off the heat as soon as the water reached a boil and began the cold rinse when the covered rest ended.
Wash hands, utensils and surfaces with hot, soapy water after contact with raw eggs. Give the cooked eggs a clean container and a clean place to peel. A cutting board used to set down an egg with a cracked raw shell should be washed before the cooled eggs go onto it. Keep the paper carton for the uncooked eggs in the refrigerator and store the cooked ones in a separate, clean covered container. A date on the container keeps the two batches easier to distinguish.
Use the membrane to help with peeling
Tap a cooled egg gently at the wider end and then along its sides to make several small cracks. Take off a piece at the wide end and look for the thin membrane beneath the shell. Work a finger under the membrane and lift the shell away in strips when it allows. The pieces may release more readily under a thin stream of cold water, as suggested by the USDA. Use a bowl or strainer to catch shells rather than sending a collection of small pieces down the drain.
If the shell pulls away with chunks of the white attached, turn the egg and try another edge. A large piece can release where a tiny one keeps sticking. Avoid digging into the white with a sharp tool. For a batch intended for salad, move an unevenly peeled egg to the portion that will be chopped. Save the smooth ones for sandwiches, filled halves or a platter. A rough peel changes how an egg looks but still leaves you with an egg you can use if it was cooked and stored safely.
Rinse off any small fragments and pat the surface dry. Shell pieces are easier to spot on a light plate with the egg turned once. A wet white can slide on a cutting board as you try to slice it. Keep the egg steady with a relaxed hand and use a clean knife that can pass through it without much pressure. Wipe the blade between cuts if yolk starts sticking to it. A blade that drags crumbs of yolk through the white can make a good egg look ragged.
Cut according to what the dish needs
For a sandwich, slice crosswise into even rounds or cut lengthwise into a few thin pieces that can lie across the bread. A thin smear of mustard or another sandwich spread helps the slices stay where you put them. Avoid piling several slices directly over one another if the bread is soft. A layer of egg across the surface gives a steadier bite and makes it easier to cut the finished sandwich in half.
For a chopped salad, cut the egg into thick slices, turn the slices and cut them into rough pieces. Fold them into the salad near the end if you want the whites to stay visible. For egg salad, you can mash some of the yolk separately into the dressing, then fold in the chopped whites and remaining yolks. This spreads the yolk through the dressing without asking you to crush every piece. Chill the finished dish as appropriate for its ingredients and avoid leaving it on the counter while you prepare something else.
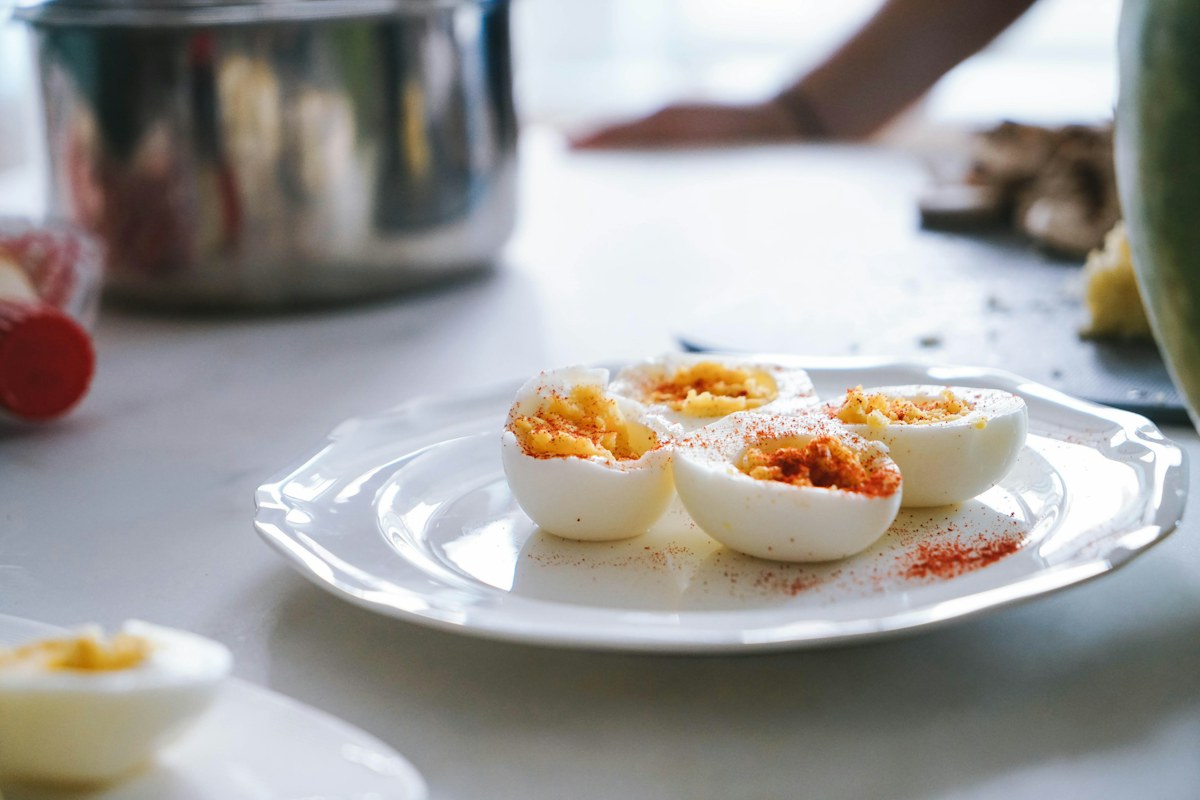
For filled halves, cut each egg through the long axis and ease the yolk out without bending the white sharply. Set the whites on a flat plate so they do not roll as you fill them. If a white splits, use it in the chopped portion. For serving a few wedges on a plate, start with an egg that has dried on the surface and cut with one steady movement. The cut face will show whether the set is consistent through the batch.
Label what is going into the refrigerator
The FDA advises refrigerating eggs at 40°F or below and eating hard-cooked eggs within one week, whether shelled or peeled. Write the cooking date on the covered container and put it in the refrigerator promptly after cooling. Keep the cooked eggs in their container until you need them. If you packed some for lunch, keep them cold with an insulated bag and an adequate cold source. A bag that sat on a warm counter is different from one kept chilled until lunch.
Follow the FDA's limits for cooked eggs and egg dishes out of refrigeration. The maximum is two hours at ordinary room temperature and one hour when the air temperature exceeds 90°F. Do not use the yolk color or the smell of the egg to extend that time. Put out only the amount you expect to serve and keep the rest cold. Record which batch you are using when eggs are cooked on different days. The next time you make them, keep the pan, egg size, rest and cooling method the same if the first batch sliced cleanly. That gives you a result you can reproduce without adding more steps.